Aloha, you luau cookies and cupcakes!

Sharing is caringShare on FacebookTweet about this on TwitterPin on PinterestShare on Google+Share on Tumblr

For someone living at the sea side (and spoiled for choice between the Mediterranean Sea and the Atlantic Ocean), beach themed parties are kind of… well, normal. But you add a Hawaiian twist to them and BAM! Success, right?

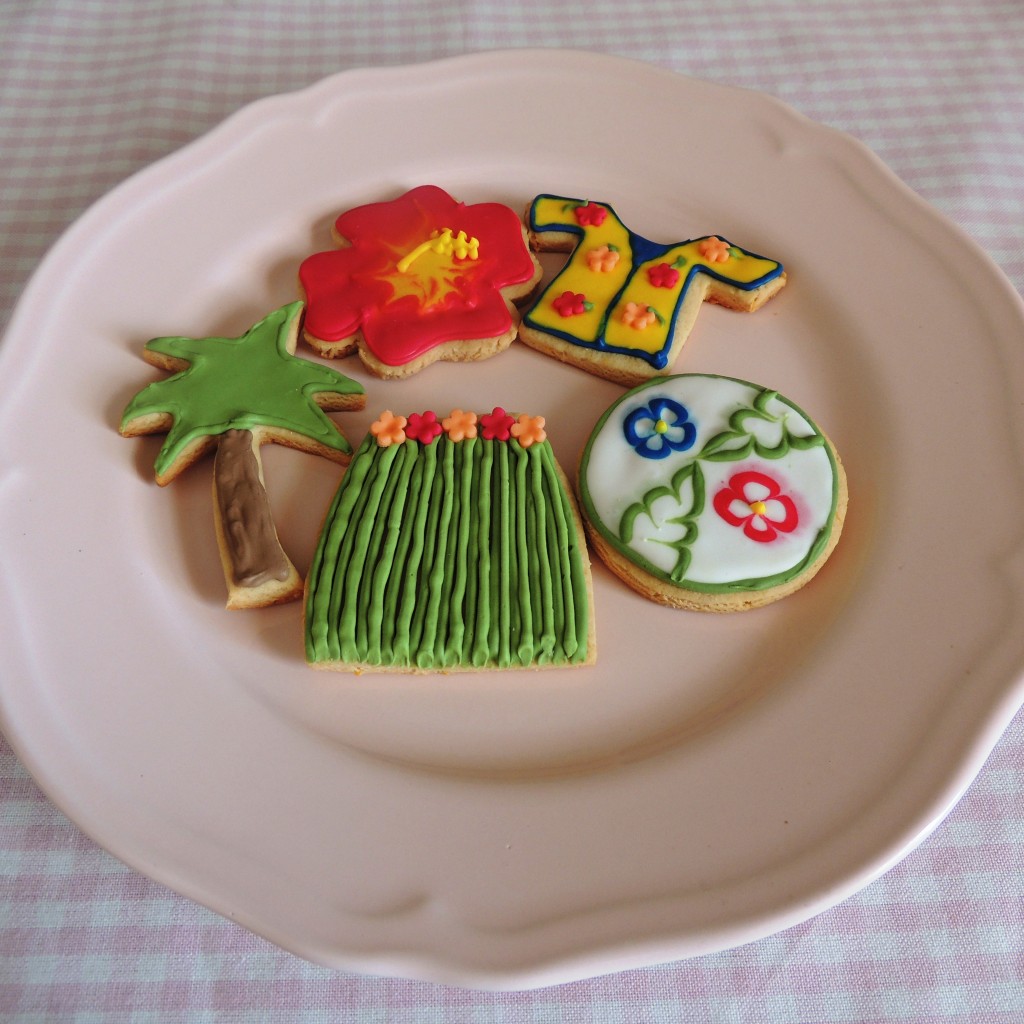
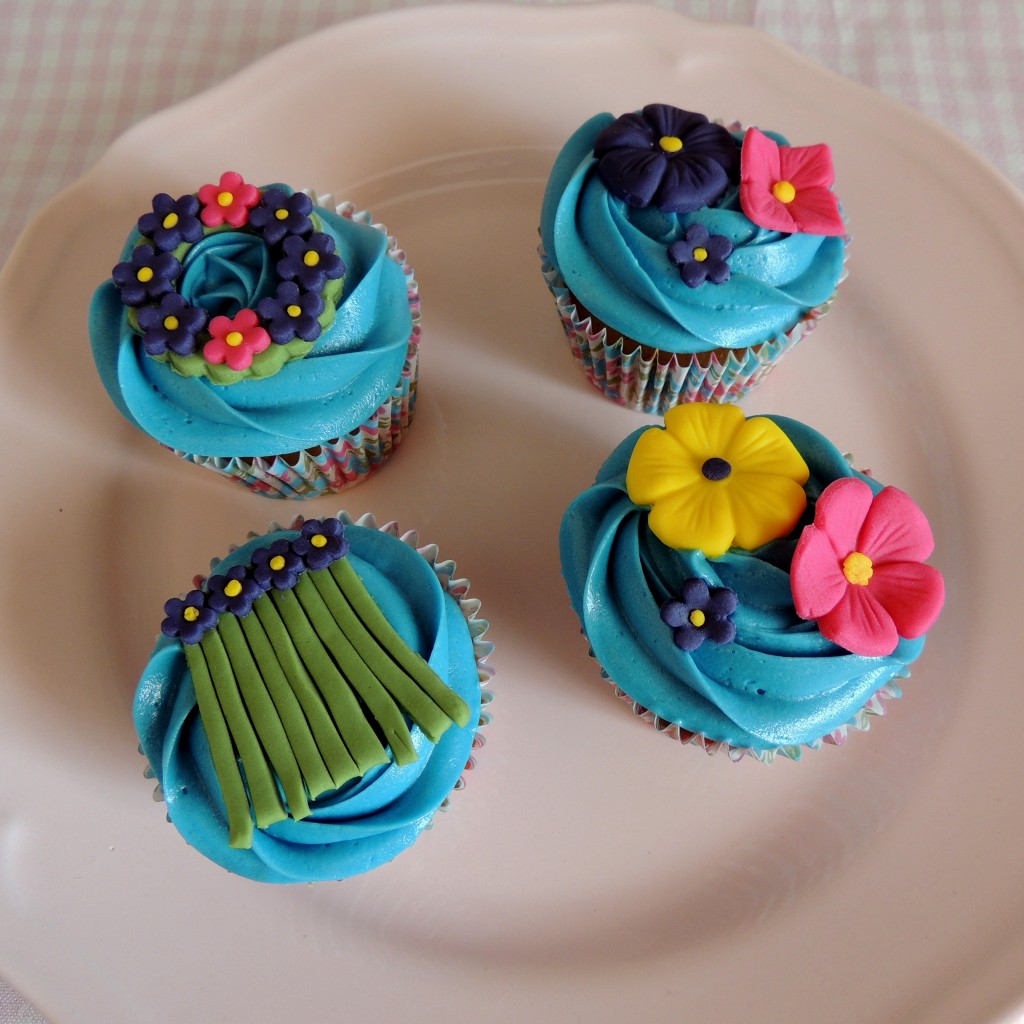
So maybe I didn’t get to attend a Hawaiian party myself but I did participate in its organising one by making adorable luau cookies and cupcakes on order. I chose lemon flavour for the cookies, and Pina Colada (read pineapple and coconut) cupcakes. They turned out fingerlicking good but also really pretty.

I used the Biscuiteer’s vanilla biscuits recipe but added 2 lemon zests. I now swear by it! Best one for icing cookies (other recipes I’ve tried soak up too much water from the icing and become soft). They didn’t go soft or break without me having to add too much flour or baking them longer. I mixed and matched for the cupcakes – this base with the pineapple filling, and this buttercream. However, Jemma has recently posted her recipe for Pina Colada cupcakes, and it involves Malibu rum, so you might want to use her recipe too. You might be tired after baking so I strongly recommend to sit with a cocktail in hand and enjoy.

cookies_luau cupcakes_luau

Sharing is caringShare on FacebookTweet about this on TwitterPin on PinterestShare on Google+Share on Tumblr

Are Giant Cupcakes dying out?

Sharing is caringShare on FacebookTweet about this on TwitterPin on PinterestShare on Google+Share on Tumblr

A few years ago it was all about the Giant Cupcakes! Everyone wanted one so it’s not surprising I also got a giant cupcake tin. Used it a few times and then then it seemed that the popularity of the Giants died down so I stashed it at the back of my tin cupboard, forgetting completely it exists.

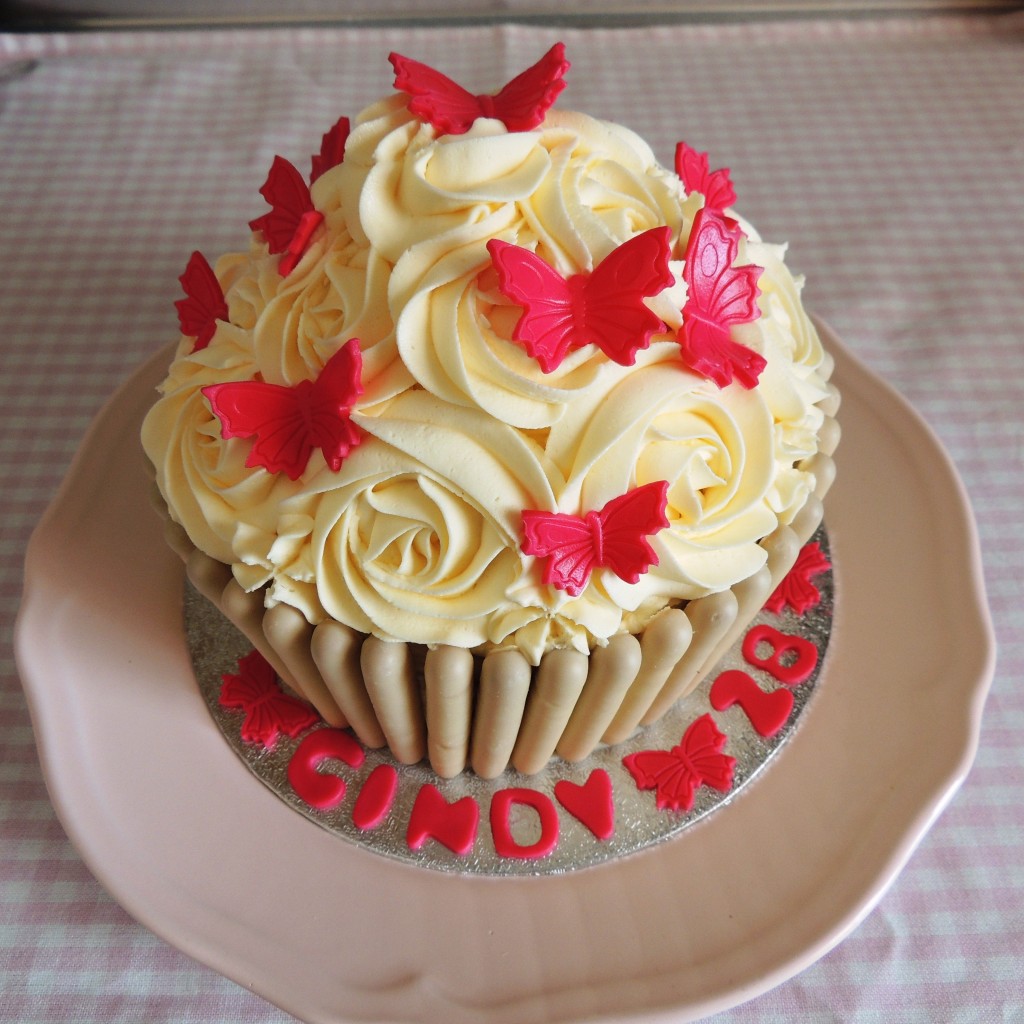
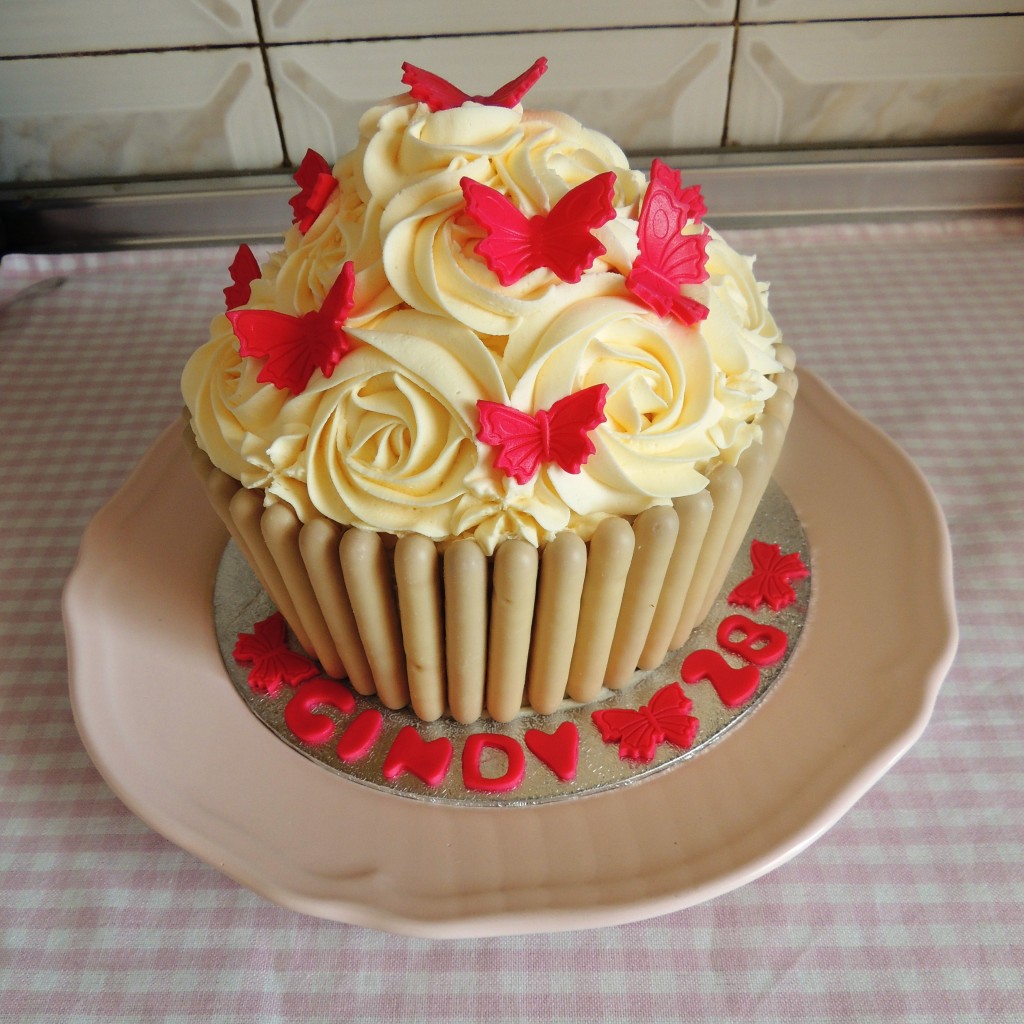
Until a few weeks ago when a friend asked me to make one for a birthday party. I was about to say I can maybe make a cake or normal cupcakes when it hit me I still have the tin! A little dusty but still in great shape, so why not? I baked a chocolate cake, filled it with a layer of nutella and buttercream and decorated it with white chocolate fingers for the sides, and buttecream rosettes and rose pink butterflies on top. And I fell in love again. Anyone else want a Giant Cupcake?
giant_1 giant_2

Sharing is caringShare on FacebookTweet about this on TwitterPin on PinterestShare on Google+Share on Tumblr

Guilt free muffins [+RECIPE]

Sharing is caringShare on FacebookTweet about this on TwitterPin on PinterestShare on Google+Share on Tumblr

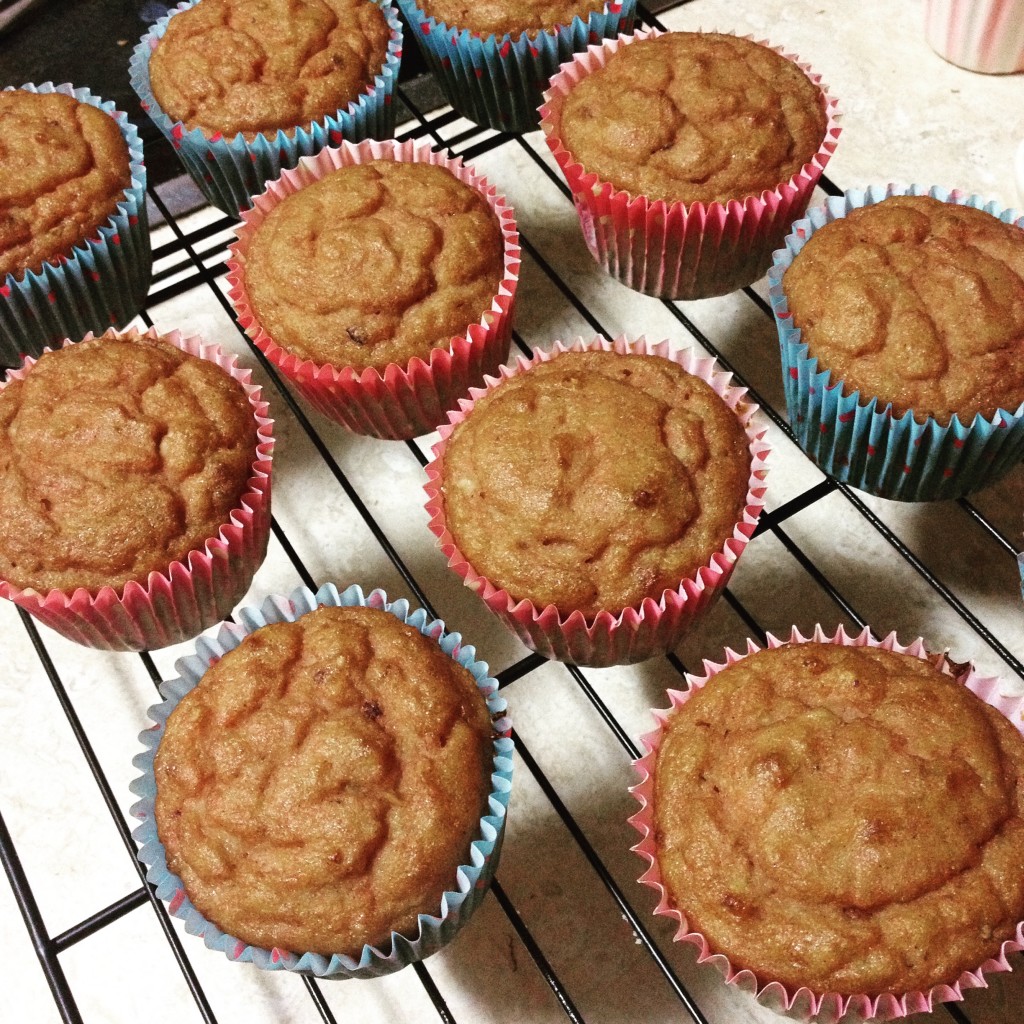
While I take food allergies seriously, there seems to be a trend of going gluten free, whether you are indeed intollerant to it or not. Is it all a marketing scam to sell you oats at £8 a kilogram as opposed to the ‘normal’ ones costing only £1? Which is why I myself am rather skeptic to the ‘free from’ foods. But not when I make them at home! Then it’s not about gluten, but mostly about carbs, sugar, saturated fats etc. Which is basically what cake is made of, I know. But alas, I have finally found a recipe which is has no gluten, is low carb, has no sugar or butter, and actually tastes like baked goods! It also passed the toddler test when fellow blogger Polly Mixtures came over with Mini Mixtures- who, at the age of 1 and a bit, was absolutely ecstatic about those muffins. Calories – 0, Nadia – 1! Here the recipe, which I found on this blog and pimped by using my own home-made apple sauce and by adding roasted hazelnuts (I also had to bake for longer but I just blame my oven for this). It didn’t say how many muffins the recipe yields but I doubled it and ended up with 18.

Apple, cinammon and hazelnut muffins
(makes 9)

Ingredients:
5 large, free range eggs1 cup apple sauce
½ cup coconut flour
2-3 tbsp cinnamon
1 tsp baking soda
1 tsp vanilla (optional)
¼ cup coconut oil
1 cup of roasted chopped hazelnuts
Extra stevia if you prefer the muffins sweeter, mine actually tasted inbetween sweet and savoury, just how I like them

Method:
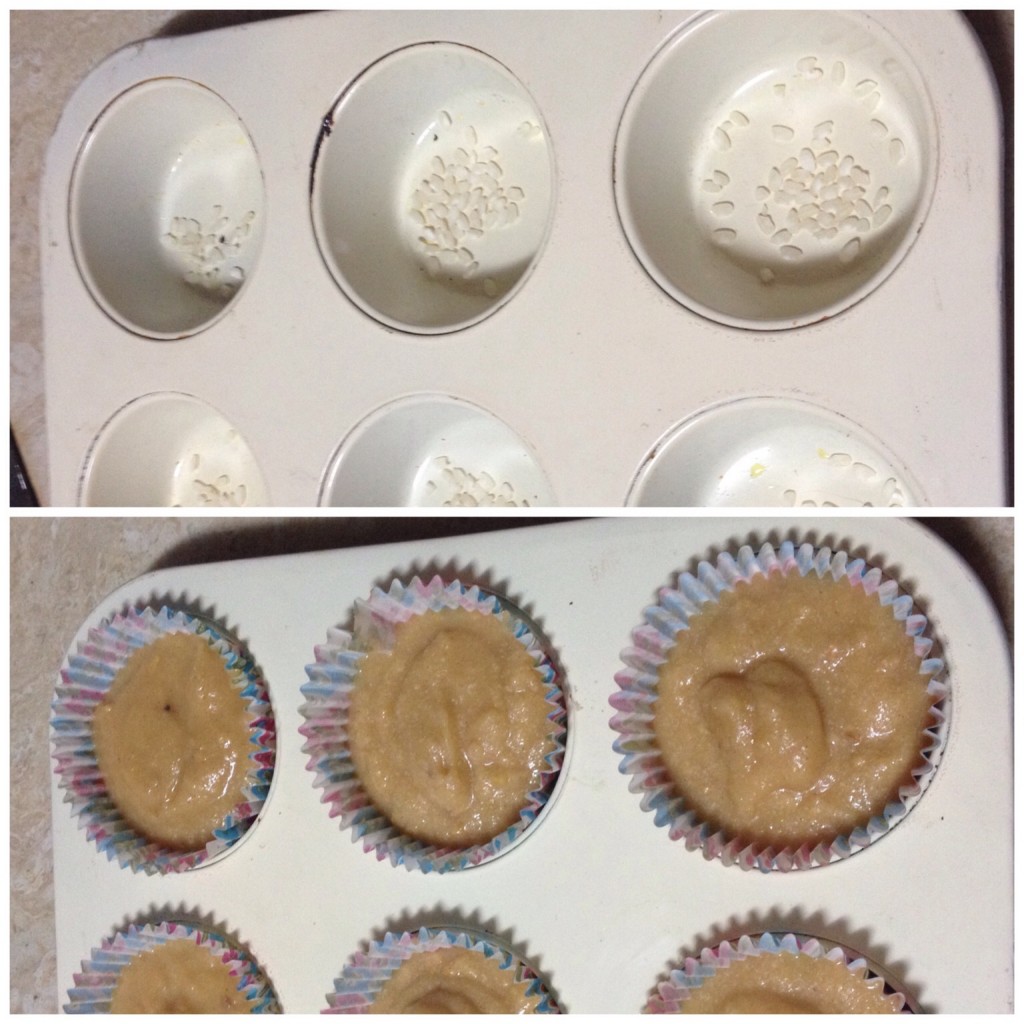
Preheat the oven to about 200 degrees Celsius. Line a muffin tin (I always sprinkle some rice under the cases so air can go under and they don’t go soggy. Mix all ingredients in a mixing bowl using a whisk. Let it sit for about 5 minutes. Pour into cases using an ice cream scoop or a spoon or a measuring cup until 3/4 full. Bake for about 20 minutes or until they are nice and golden and a toothpick comes out clean. You can glaze with honey or jam if you are not too fussed about the sugar in it (unles you get a sugar free one). Let cool and enjoy completely guilt free!

IMG_4813

Before the oven – kind of looks like baby food!

IMG_4815

That’s more like it!

Sharing is caringShare on FacebookTweet about this on TwitterPin on PinterestShare on Google+Share on Tumblr

Winter is coming! [GoT cake inside]

Sharing is caringShare on FacebookTweet about this on TwitterPin on PinterestShare on Google+Share on Tumblr

Last week we celebrated a dear friend’s 30th birthday. As it was quite the milestone, we went all out! Beach barbeque on the actual day, a weekend away in Tarifa with a Game of Thrones theme, all the works! This meant a few busy weeks – sorting out outfits, cakes, presents but in the end it all came up beautifully and we had one very happy birthday girl.

We put together a pretty presents display for her on the beach and were lucky to have a clear day so Africa acted as a natural backdrop. Magical!

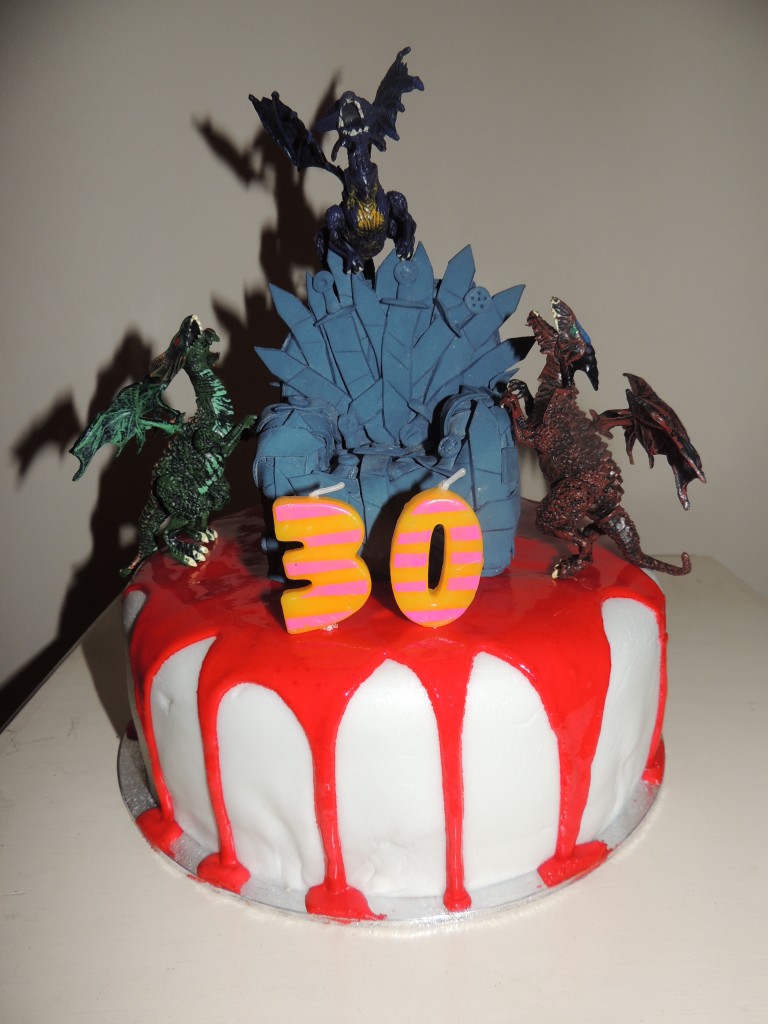
displayFor the weekend celebrations, I had to make a themed cake. As it turns out, a Game of Thrones cake is not a easy thing. I initially wanted to make Joffrey’s crown out of chocolate and paint it gold for the cake topper. The weather was really not accomodating though – too hot for the chocolate to set, yet if you put in the fridge to set, it will sweat when it comes out so you cannot paint it. Then I tried royal icing, failed again. After 2 weeks of trying, I finally gave up on the crown idea and focused elsewhere. An iron throne should be easier to make, right? And easy enough it was, but little did I realise it will take so long!!! I used 2 YouTube tutorials combining making the actual throne from styrofoam and covering it in tiny swords made of sugar florist paste (I find the Squires Kitchen one the best). Note to self: do not use super glue for styrofoam. It somehow doesn’t agree and the glue eats through the styrofoam. Yikes!

Once I had the throne ready, I baked a simple chocolate cake and made a Nutella buttercream as per the request from the birthday girl. Then covered the cake in white fondant and blood made of red royal icing. On top I placed the throne and added 3 plastic dragon toys. I was pretty proud of the end result, what do you think?

DSCN1663

Sharing is caringShare on FacebookTweet about this on TwitterPin on PinterestShare on Google+Share on Tumblr

MotoGP themed birthday cake

Sharing is caringShare on FacebookTweet about this on TwitterPin on PinterestShare on Google+Share on Tumblr

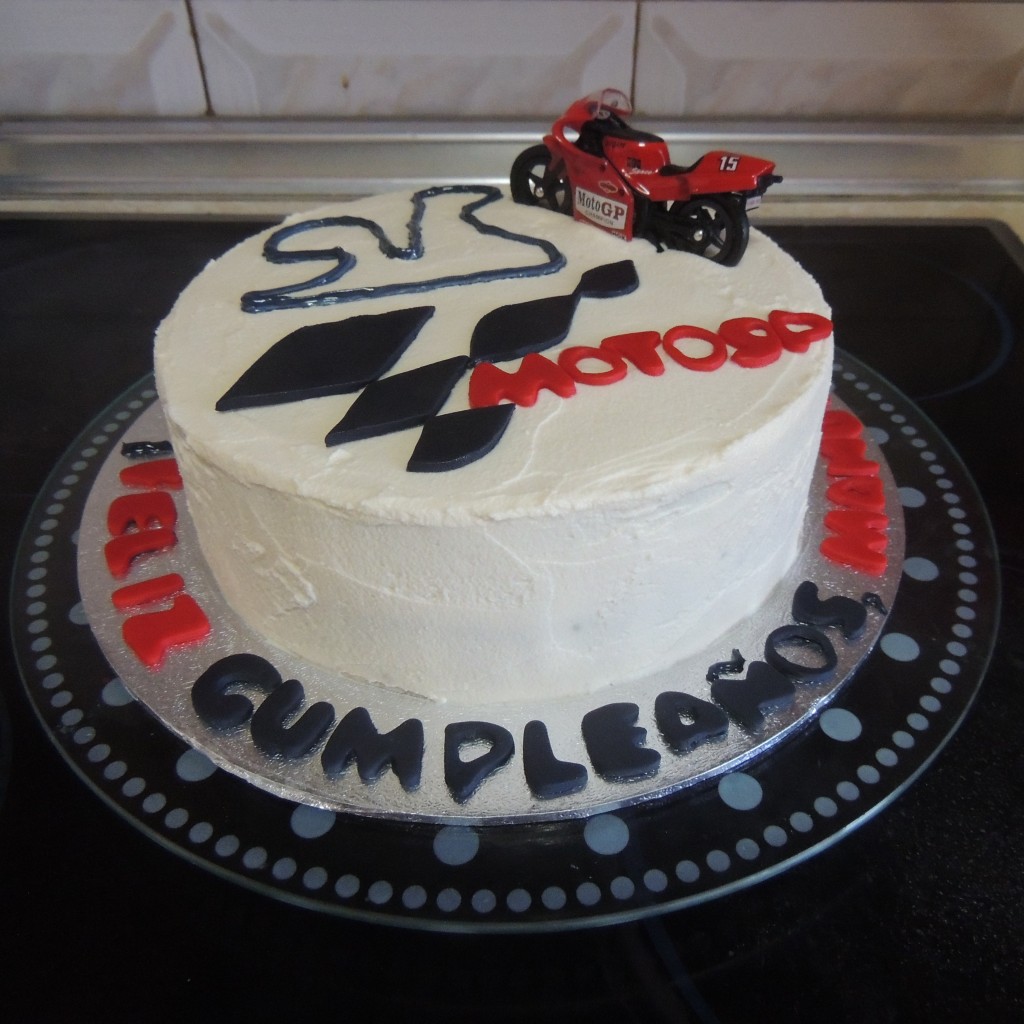
When a friend asked me to make a MotoGP or Formula 1 themed cake for her dear boyfriend, I quickly did a Pinterest search to get ideas. I knew my time for this cake would be limited and almost had a heart attack when I saw all the extremely elaborate designs on the Internet. So I had to get really creative in order to fit the cake in my already very busy schedule but still be able to deliver a cool cake. Which is when the local supermarket came to the rescue. I was stocking up on the usual: flour, butter, sugar when I spotted a tiny red motorcycle toy with MotoGP written on it hang off a random food isle. SCORE!

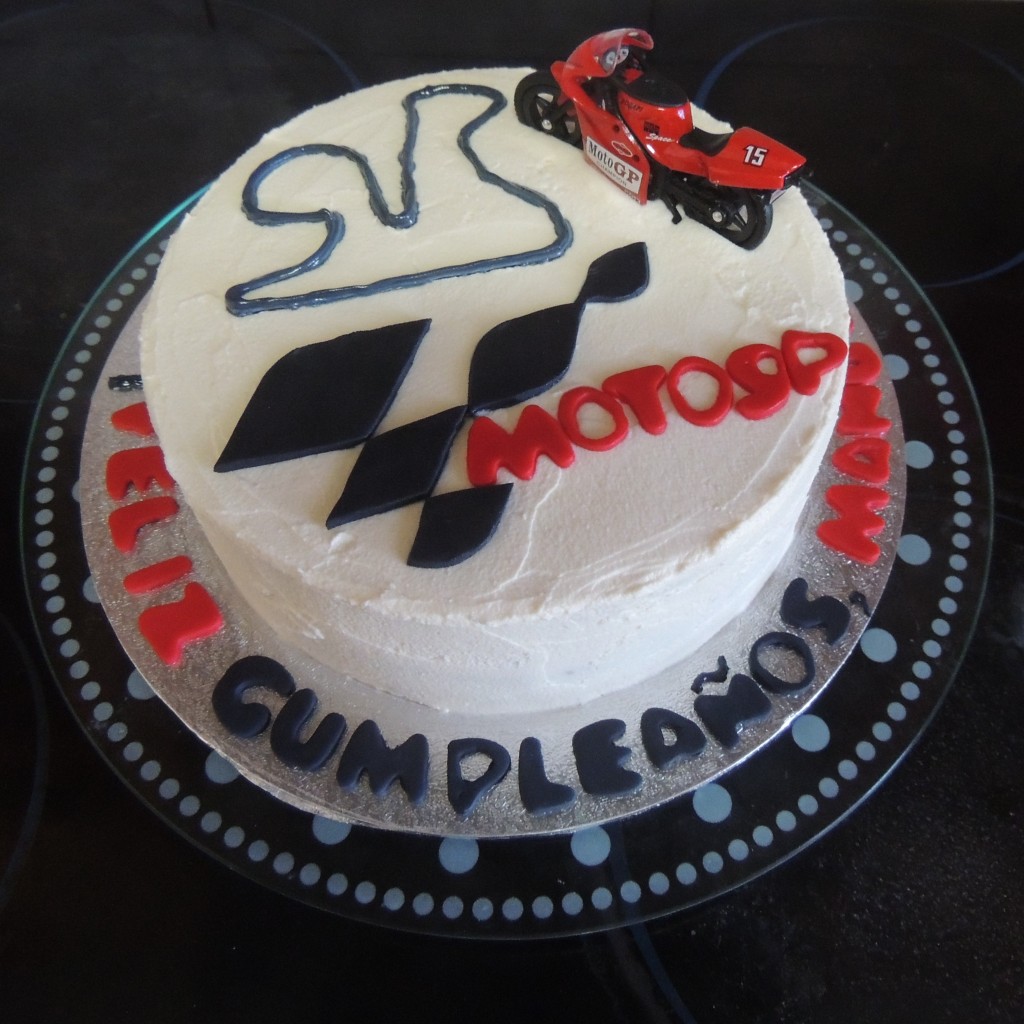
The actual cake had this Guinness base (I simply doubled the recipe to be able to cut the cake in 2 layers) but I needed a slightly stiffer frosting than cream cheese in order to avoid covering the cake in fondant (I don’t like the taste of it) so I used another favorite – Kahlua mascarpone. I cut the MotoGP logo by hand (other than the letters) from fondant and drew the shape of a nearby MotoGP circuit (the one in Jerez de la Frontera) in black royal icing. The birthday boy loved it! And here’s a few pictures:

MotoGP cake 2 MotoGP cake

Sharing is caringShare on FacebookTweet about this on TwitterPin on PinterestShare on Google+Share on Tumblr

It’s not all champagne and roses

Sharing is caringShare on FacebookTweet about this on TwitterPin on PinterestShare on Google+Share on Tumblr

I like blogs, can you tell? But what I like more is to imagine the life of the people writing the blogs I read. I am lucky to have a blogger sister (warning – it is in Bulgarian) and a few blogger friends so it’s not all in my head but I did go through a phase when I thought – how is it possible that these bloggers live such fabulous lives? Don’t they have a single worry in the world? Does nothing ever go wrong for them?

I now have a few more years of experience behind me – not only life- but also blogging-wise. And I know that the life we sometimes portray on blogs, social media, etc is not necessarily the life we live 100% of the time – not everyone is ready to share the negative parts publicly. But enough preamble – I was just getting to the point that not everything is Champagne and roses at Cupcakes & Unicorns HQ either and I had to share a picture of last night’s events which first made me want to cry but then I just laughed. In general, cakes break (the horror!); cream cheese frosting becomes as runny as milkshake; cookies burn; a thin layer of icing sugar usually covers every single space and thing in my kitchen.

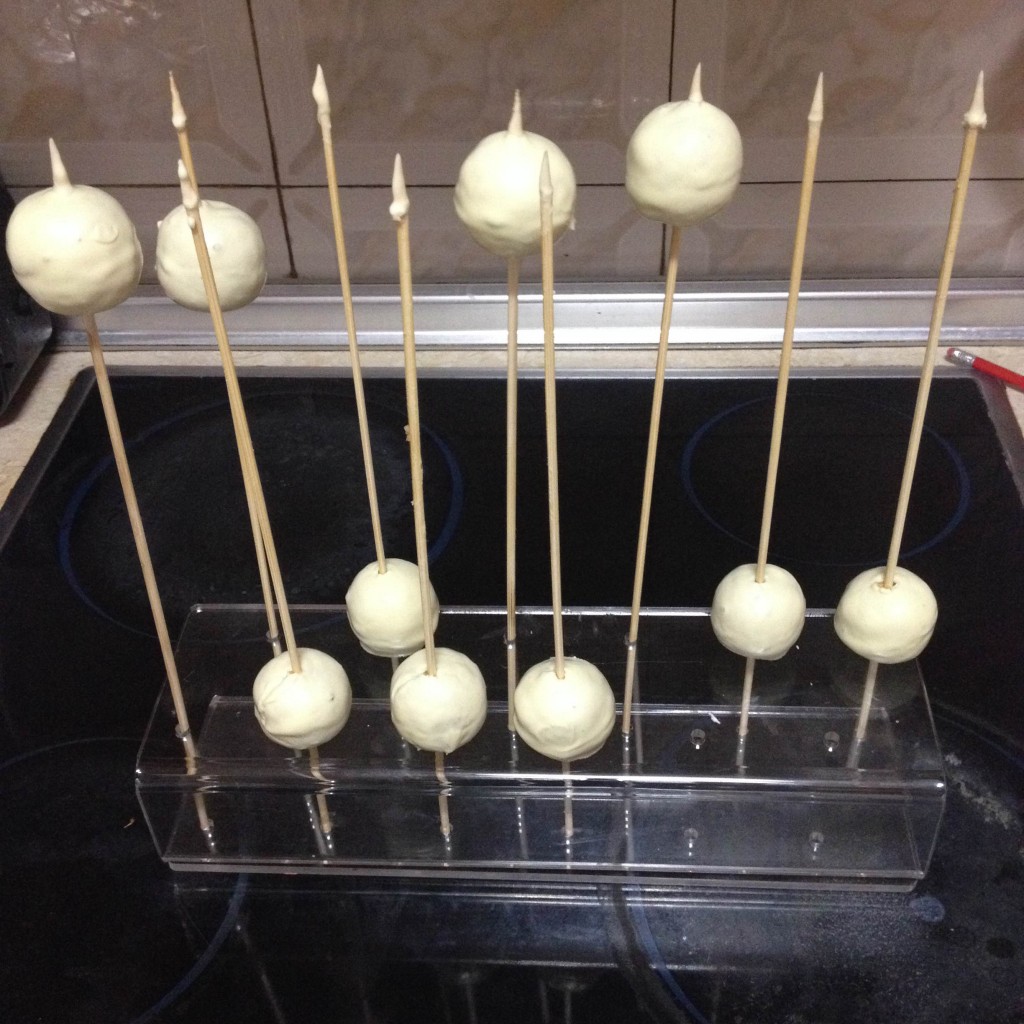
So last night, I was attempting to create cake pops to resemble the decapitated characters in Game of Thrones for a themed party. I had to use white chocolate which has always been a pet peeve of mine. It is tricky to melt as it can burn very easily, it takes a very long time to set, etc. But I made it all the way to decent looking cake pops heads and let them to set. What I didn’t consider is that due to the recent heat wave the air temperature is not very far from the temperature at which you melt white chocolate (44C). So after waiting 45 minutes for them to set, I went back to the kitchen to find this (the chocolate was still as soft as it had been 45 min previously):

I decapitated these cake pops a tad too well

I decapitated these cake pops a tad too well

Lesson learned – don’t try and coat cake pops in white chocolate when the temperature is one million degrees Celsius. It simply won’t work. Needless to say these ‘chopped heads’ ended up buried in the bin and we won’t be having cake pops this weekend 😉

Sharing is caringShare on FacebookTweet about this on TwitterPin on PinterestShare on Google+Share on Tumblr

It’s not simply edible lace, it’s magic! [+DISCOUNT CODE]

Sharing is caringShare on FacebookTweet about this on TwitterPin on PinterestShare on Google+Share on Tumblr

Remember I moaned a while ago that I may have to convert to beauty blogging to get nice freebies? Well, it turns out I was wrong.

As luck would have it, the lovely people at Squires Kitchen Shop not only did read my blog, they also sent me an amazing package in the post (which was a nice change to the uninterrupted flow of various bills). You simply cannot imagine my excitement! I almost burst – not only does my favorite online shop for baking supplies read my blog, but they also want to collaborate with me!!! There is something in it for you too – keep reading.

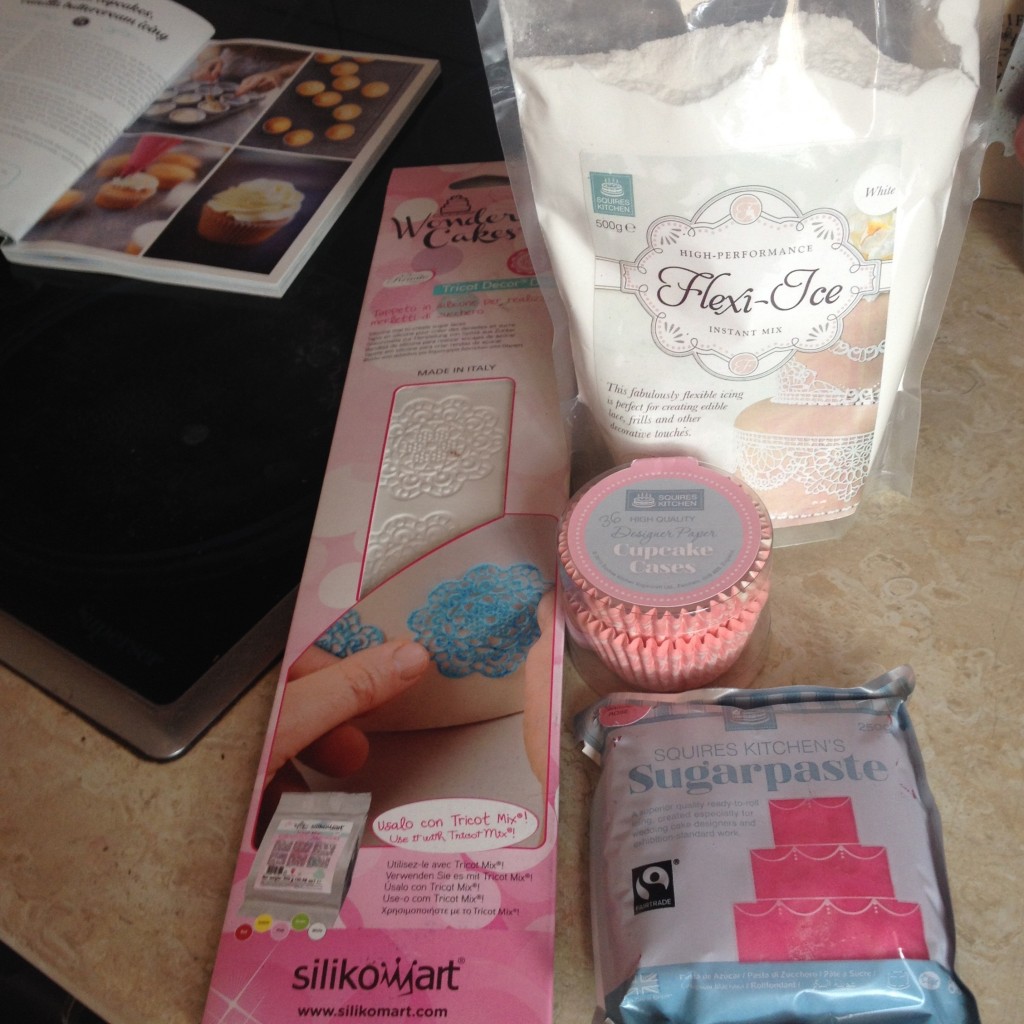
So I received the following products to add to my ever growing collection:

The received goodies

The received goodies

Bridal Rose Sugarpaste
Baroque Pink Cupcake Cases
Silikomart Wondercakes Daisy Mat
Flexi-Ice Instant Mix

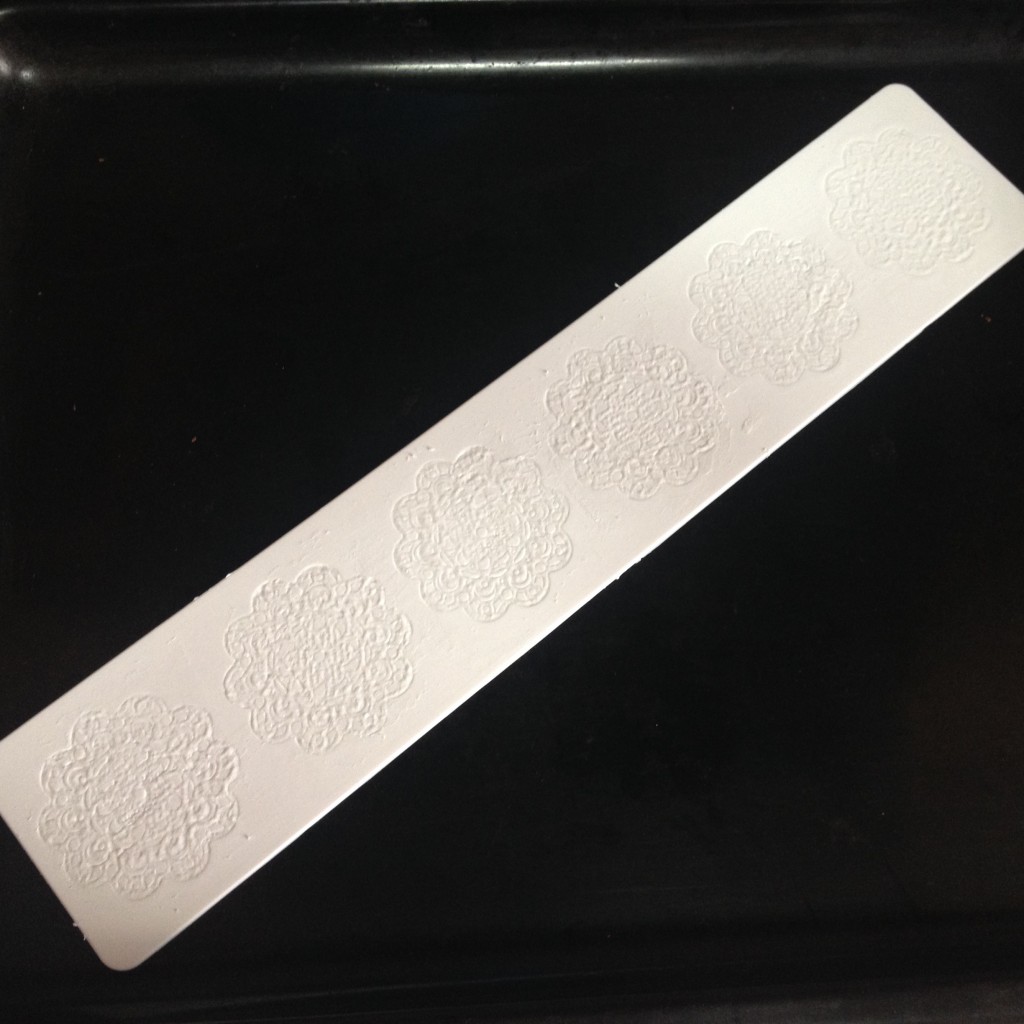
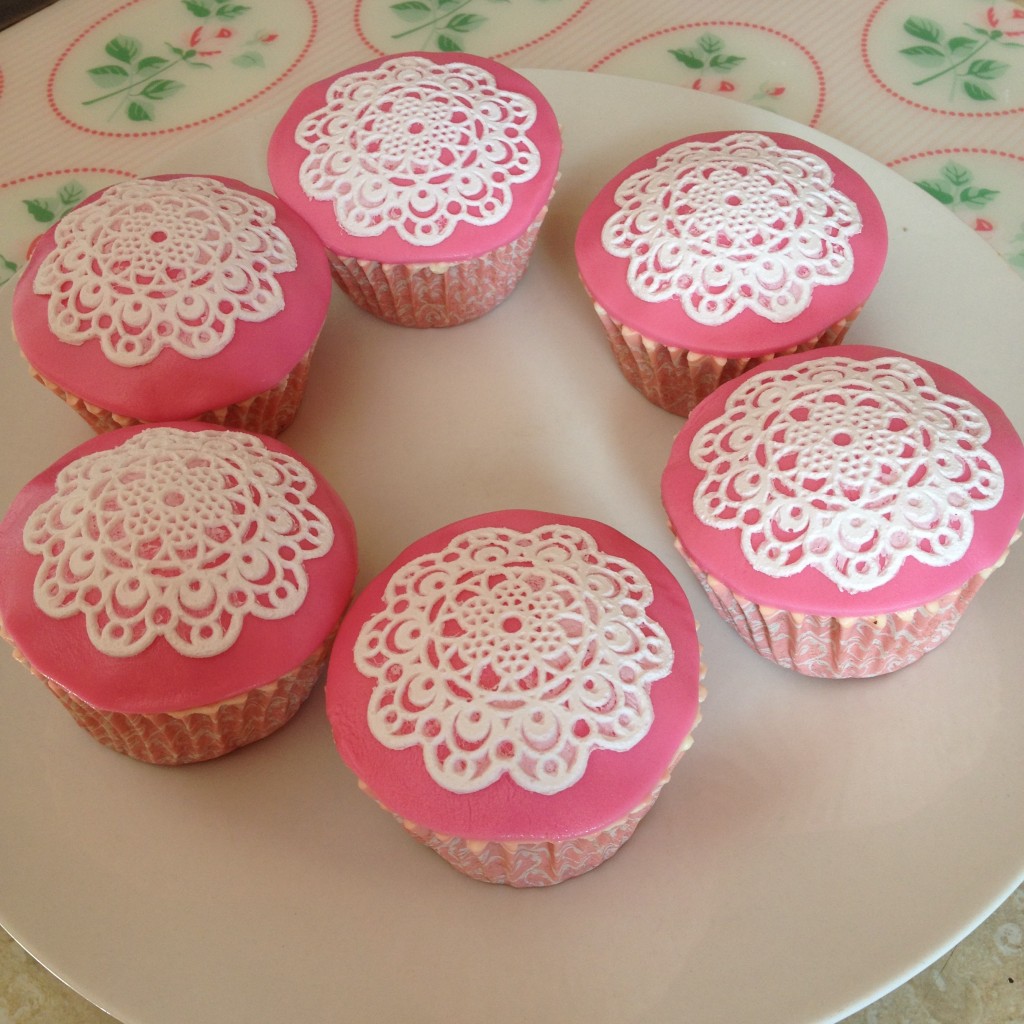
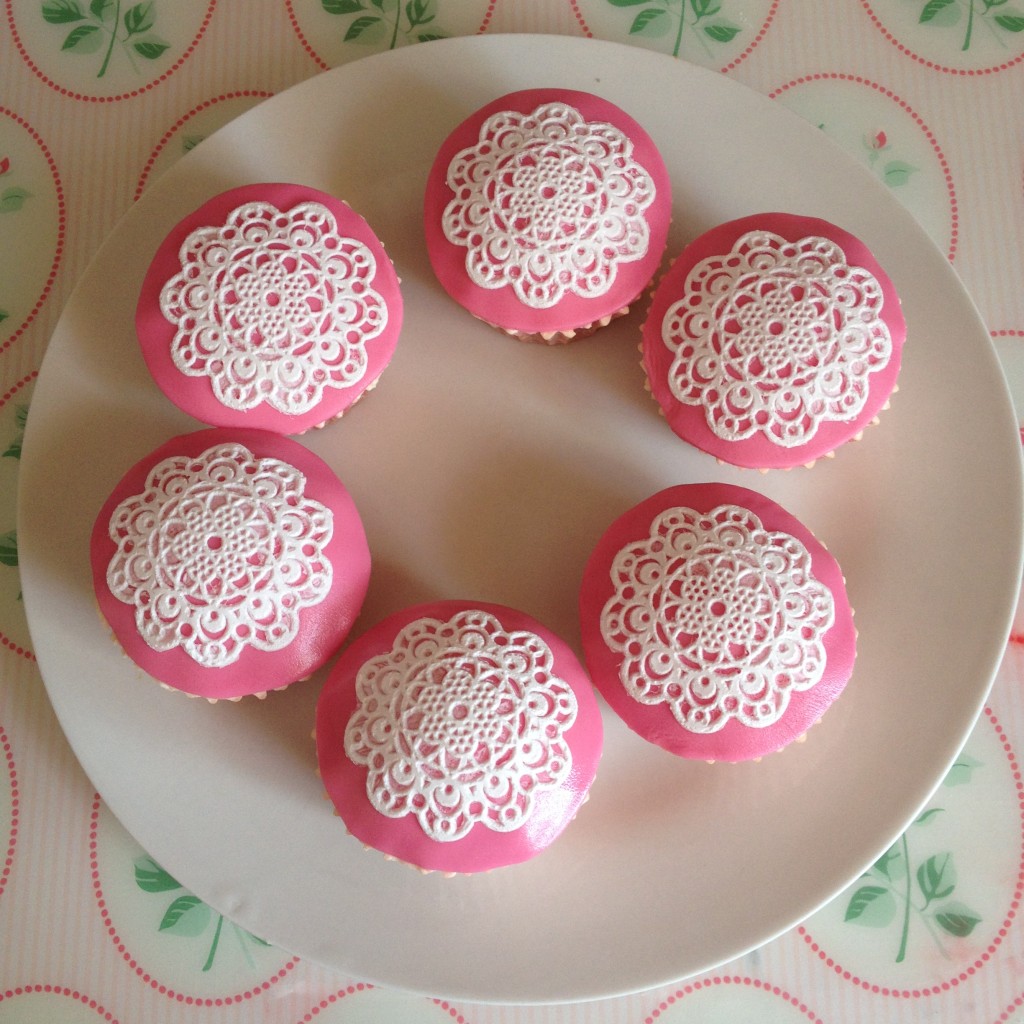
This meant I could now make edible lace! I was slightly skeptic at first – flexible icing? Which you can eat? But you bake it first? It sounded fishy. But behold: IT IS PURE MAGIC! Like unicorn magic, I’m telling you! Don’t be afraid to follow the instructions on the flexible icing. I was worried as the ratio icing to water is 1 to 1.5 – this didn’t sound right. But it is. These people really know what they’re doing – so trust them and simply follow what it says on the back of the package, and there’s no way you won’t succeed. I baked it for 25 minutes rather than 20 but this all depends on the oven. If you are operating a pre-war beast like mine, it is temperamental so times are always relative. And the lace doilies came out of the mold like a charm!

The silicone mould ready to go on the oven to dry

The silicone mould ready to go on the oven to dry

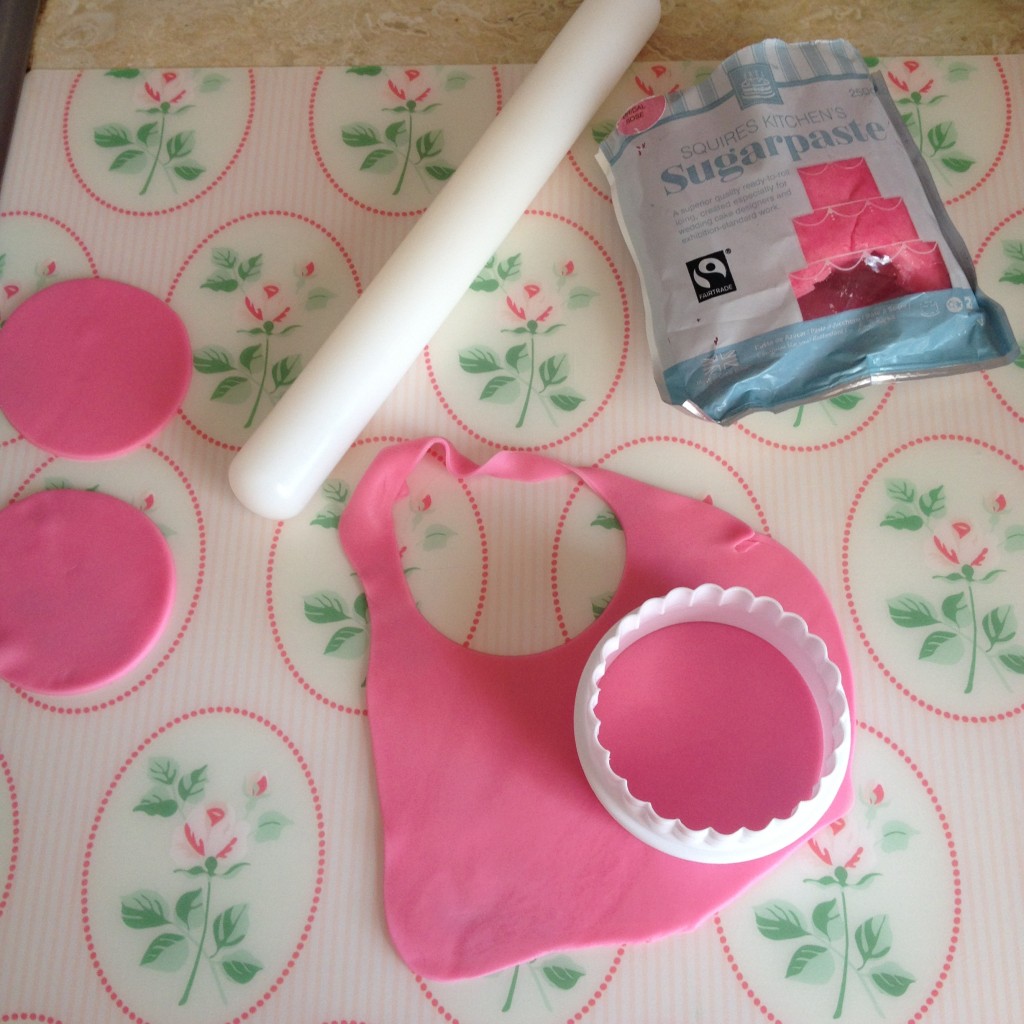
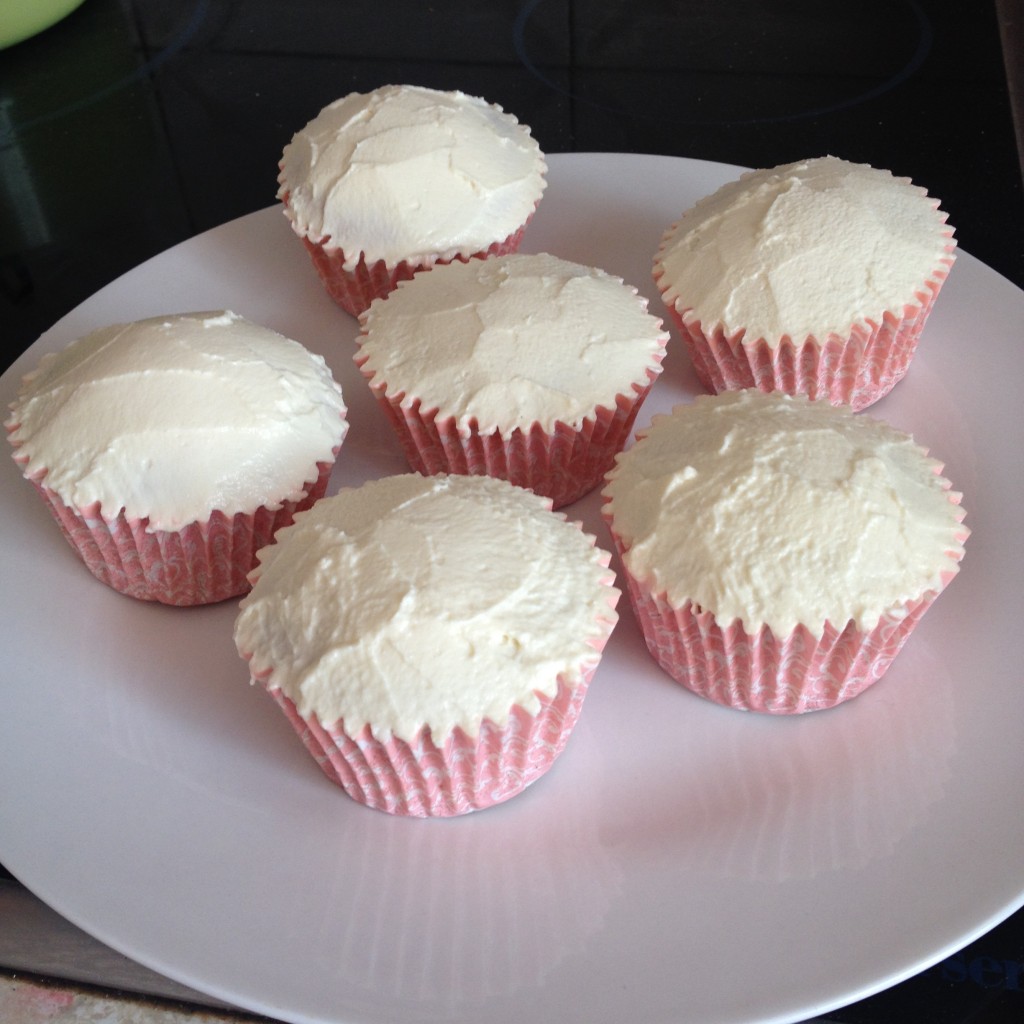
I put a thin layer of icing on the cakes, then rolled out the sugarpaste to cover them in it . For the cupcakes, I used CupcakeJemma’s vanilla cupcakes recipe, which I then topped with the Hummingbird bakery’s Kahlua mascarpone frosting. I recommend letting the frosting set in the fridge for 30 minutes or so before putting the sugar paste on. Especially if your kitchen, like mine, turns into a sauna in summer.

IMG_4569 IMG_4567Once this was done, I brushed a little edible glue so the lace sticks to the sugarpaste, and that was it. Et voila! I think I’m in love.

finished finished 2
I haven’t tried coloring the lace yet – this would be the next project, and I have some beautiful colors I had previously ordered from Squires. But I can definitely recommend the set to everyone. So simple yet chic, and super easy to make!

But the best part is yet to come. Squires Kitchen Shop is offering all my readers 10% OFF orders until 01.10.2014 if you also want to create lace magic or want to buy everything else they have in stock too (I know I would). Simply enter the code UNICORNS2015 at checkout to enjoy your 10% discount. Come on, off you go – the next order has your name on it. And they do classes as well – if you are based in the UK, get your butt over to Surrey! I promise I will only be jealous a little bit.

Sharing is caringShare on FacebookTweet about this on TwitterPin on PinterestShare on Google+Share on Tumblr

4th of July dessert galore

Sharing is caringShare on FacebookTweet about this on TwitterPin on PinterestShare on Google+Share on Tumblr

For a second year in a row, a few local businesses organised a 4th of July party in Gibraltar. And for a second year in a row, Cupcakes & Unicorns had a small dessert stall. Picture plenty of oreos, marshmallows, brownies, NYC style cheesecake. Luckily, this year I was able to spend less time on decorations (since I managed to recycle some from last year, plus the awesome Whitney and Alan just came back from a US trip and brought some fantastic goodies, including my little top hat) and more time on baking. This is what it looked like:

I loved my tiny top hat!

I loved my tiny top hat!

We had following desserts for sale:
– Sugar cookies with a royal icing flad drawn on each
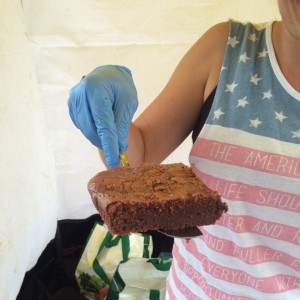
– Lush fudgy chocolate brownie (which also came in a) gluten-free and b) egg- and dairy-free version)
– Vanilla and oreo cake pops
– Red and blue whoopie pies
– NYC style oreo cheesecake (oreo base, as well as crushed oreos in the actual cheesecake)
– Boozy cupcakes (Guinness chocolate cake with Kahlua mascarpone frosting)
– Funky marshmallow skewers

Here are a few more pictures from the stall:

Unfortunately, it turned out the Miss Gibraltar 2015 beauty pageant appealed more to the local audience so not a lot of people came to the event. It was still good fun though, and the local Nazareth House received a donation of brownies, cookies and whoopie pies to give out to the less fortunate amongst ones. Also, mine and G’s colleagues and friends did not mind devouring any left overs.

Here’s to you, America. Hope you all there across the pond had a lovely 4th of July weekend.

Sharing is caringShare on FacebookTweet about this on TwitterPin on PinterestShare on Google+Share on Tumblr

Whoopie pies – whoop whoop!

Sharing is caringShare on FacebookTweet about this on TwitterPin on PinterestShare on Google+Share on Tumblr

Is it a cake? Is it a cookie? Is is a pie? It is all of the above! It’s also pretty close to pure awesomeness.

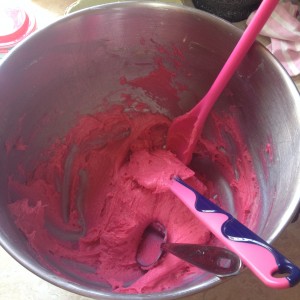
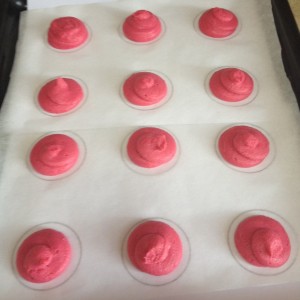
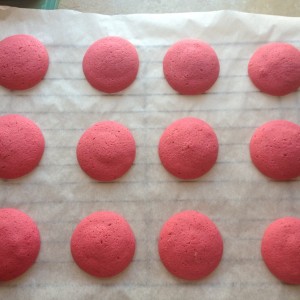
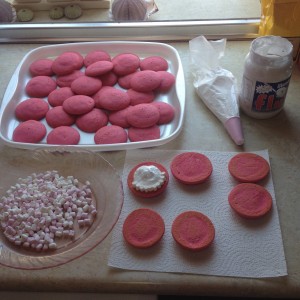
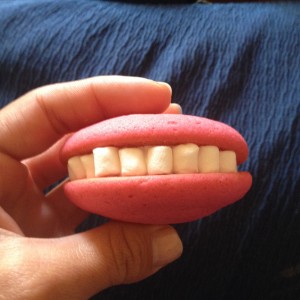
This weekend I had a play date with a puppy so I simply *had to* bake. Not for the puppy, of course, but for his owners, who refer to my baked goods as (and I quote): ‘little pieces of Heaven’. Looking for something simple, yet effective, I stumbled across Jemma’s newest recipe online – Whoopie Pie Smiles. Oh boy, oh boy, oh boy! May I say, they came out perfect and took some time to make but were very easy. Have a look yourself:


Personal remarks: I doubled the recipe which produced 36 discs or 18 Whoopie Pies. I think otherwise it produces too little and it’s not worth the effort! My recommendation is to print 2 pages with 6 identical circles and place these underneath your baking parchment in the tin. Then pipe on those circles. Or try and be SuperMan and pipe exactly the same circles without a pattern.

I also used the store-bought Marshmallow Fluff – do not recommend it. I am not sure if it was the heat or the humidity or simply the texture of the fluff, but while it looked perfect for the first 10 minutes or so, some of my smiles ‘drooled’ quite a lot, which is to say the frosting leaked out and also it didn’t hold well enough for me to stack them in a tupperware.

Lessons learned: Next time, I will definitely make the frosting myself. And I am not sure if I will go for marshmallow, I think peanut butter buttercream will taste incredible in those and will also hold better. And I may lose the teeth. While they look pretty awesome, it did take me a while to stick all those tiny mallows on.

I am at the airport travelling to Vienna as I type so there may be a few days of no baking and subsequently no posts, unless I stumble across a bakery worth a report from far lands. Bis bald!

Sharing is caringShare on FacebookTweet about this on TwitterPin on PinterestShare on Google+Share on Tumblr

BAKING FOR A GOOD CAUSE! [+RECIPE]

Sharing is caringShare on FacebookTweet about this on TwitterPin on PinterestShare on Google+Share on Tumblr

Last weekend was full of baking and experimenting! And it was great (until the moment when my lower back decided I have abused it enough and left me rather crippled for most of Sunday but that was OK as I did really need a break)!!!

Our Scout group was holding a fundraising cake stall on Saturday morning so I prepared around 3 dozen of individual cookie bags and another 3 dozen of vanilla cupcakes with rainbow frosting. Ok, rainbow frosting was the plan, at least. What I didn’t take into account is that a) temperatures have been rather high around here for early summer (we’re talking 28 degrees Celsius) and b) no air-con in the kitchen. So the buttercream melted from the time I mixed it till the moment I spooned it into the piping bags. So they looked more psychedelic than rainbow but… it happens! I am still pretty proud as we were able to collect plenty of money for the Scout group. And don’t they still look pretty?
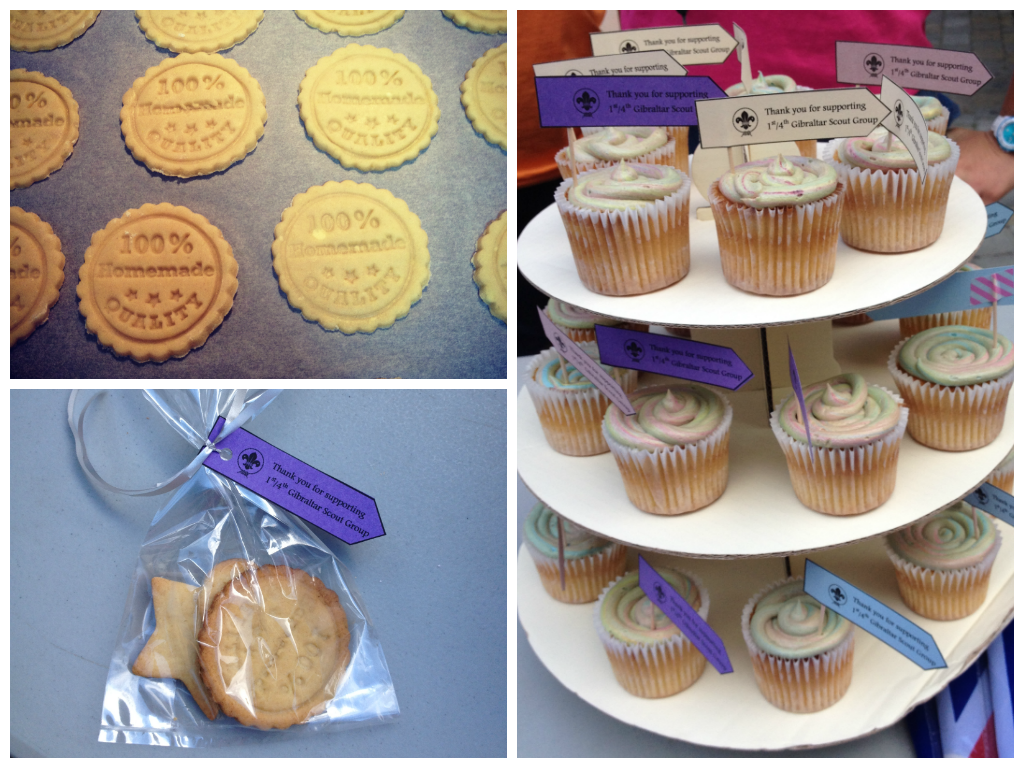
bake sale cookies and cupcakes

That same evening we were holding another fundraising event in a local wine shop & tasting room and I had set my mind on making wine-spiked cupcakes seeing as it was going to be adult only. The guys from My Wines had been kind enough to provide me with a bottle of mocha coffee flavoured wine – yum!

The cupcakes came out beautifully moist and rich and I topped them up with my favorite Hummingbird Bakery cream cheese frosting and little wine bottles made of fondant. What a treat after drinking plenty of vino! Recipe below.
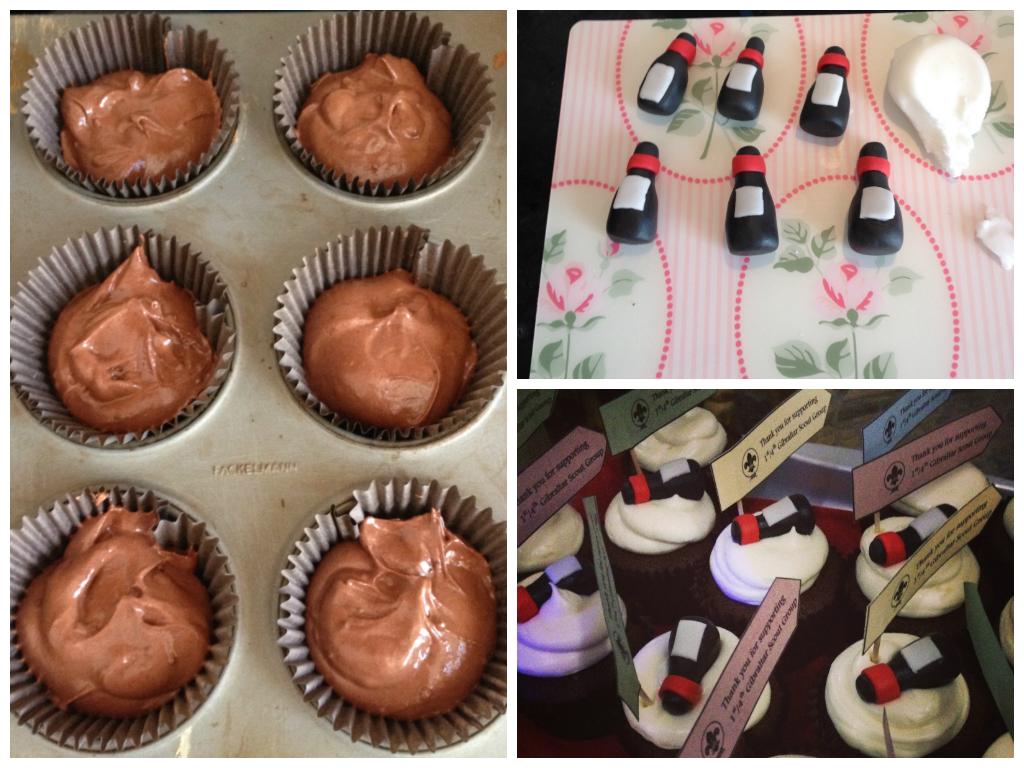
red wine cupcakes

Red Wine Cupcakes with Cream Cheese Frosting (makes approx. 24)

Recipe taken from: Butter me up, Brooklyn (aside from frosting)

For the cupcakes:

  • 260g plain flour
  • 100g unsweetened cocoa powder
  • 1 tsp baking powder
  • 1/2 tsp cinnamon
  • 1/2 tsp salt
  • 1/4 tsp baking powder
  • 170g softened butter
  • 300g brown sugar
  • 100g caster sugar
  • 3 eggs at room temperature
  • 355ml red wine (if you use a chocolate wine, reduce the sugar, otherwise you risk them being too sweet)
  • 2 tsp vanilla
  • red food coloring (optional)


For the frosting (by the Hummingbird Bakery):

  • 600g icing sugar, sifted (I normally put less as I don’t like the icing too sweet)
  • 100g unsalted butter, at room temperature
  • 250g cream cheese, cold


To make the cupcakes:
In a medium bowl whisk together flour, cocoa, baking powder, cinnamon, salt and baking soda. In a large bowl (I use my standing mixer’s one) beat butter and both sugars together until smooth (if using a standing mixer, use the paddle attachment). Add eggs and beat to combine, then add red wine and vanilla and beat until incorporated. At this stage, it will look weird but don’t worry, the dry ingredients will make it smooth again. Add these in several additions, being careful not to over mix. Divide the batter evenly among the prepared cupcake liners until they are 2/3 full.

Bake for 20 to 22 minutes, or until a tester inserted into the center of cupcakes comes out clean. Let the cupcakes cool for five minutes or so in the tin, then turn them out onto a wire rack to cool completely.


To make the frosting:
Beat the icing sugar and butter together in a freestanding electric mixer with a paddle attachment (or use a handheld electric whisk) on medium-slow speed until the mixture comes together and is well mixed (it will look like crumbs).

Add the cream cheese in one go and beat until it is completely incorporated. Turn the mixer up to medium-high speed. Continue beating until the frosting is light and fluffy, at least 5 mins. Careful not to overbeat as it can turn runny quite quickly.
Sharing is caringShare on FacebookTweet about this on TwitterPin on PinterestShare on Google+Share on Tumblr