Nadia vs. Tarte Tatin

Sharing is caringShare on FacebookTweet about this on TwitterPin on PinterestShare on Google+Share on Tumblr

Now, I am known for baking until late, late at night. Baking and frosting cupcakes at 2am? No problem. Decorating cookies with royal icing at 3am? Bring it on. But if I am not one thing, that is an early bird.  So why did I end up waking at 6am to make a tarte tatin? Still a mystery to me too. Although it may have to do with the fact that I cannot miss a baking challenge and when my co-workers said I should make this dessert, I didn’t realize it’s best served warm. That is one mistake I will not be making hastily again: before promising another fiddly bake, I will check if it can be baked the day/night before.

So I set on to finding the best recipe. The New York Times promised theirs is fool proof but it used ready puff pastry (and I like to make my own pastry). BBC Good Food didn’t make any empty promises but it did sound like more work than the NY times one. So as one does, I combined the 2 recipes to produce the famous apple tart and here we go:

Tarte tatin
(makes one 10-11 inch tart – please note it takes a while to prepare if you do it ‘by the book’ and let the apples dry overnight in the fridge)
IMG_7070

Ingredients for the filling:
6 large apples (I used Braeburn but apparently you can use Granny Smith mixed with Cox or Honeycrisp) – just make sure they’re firm so they don’t fall apart while cooking
80g salted butter
100-130g light brown sugar (to taste)

Ingredients for the pastry:
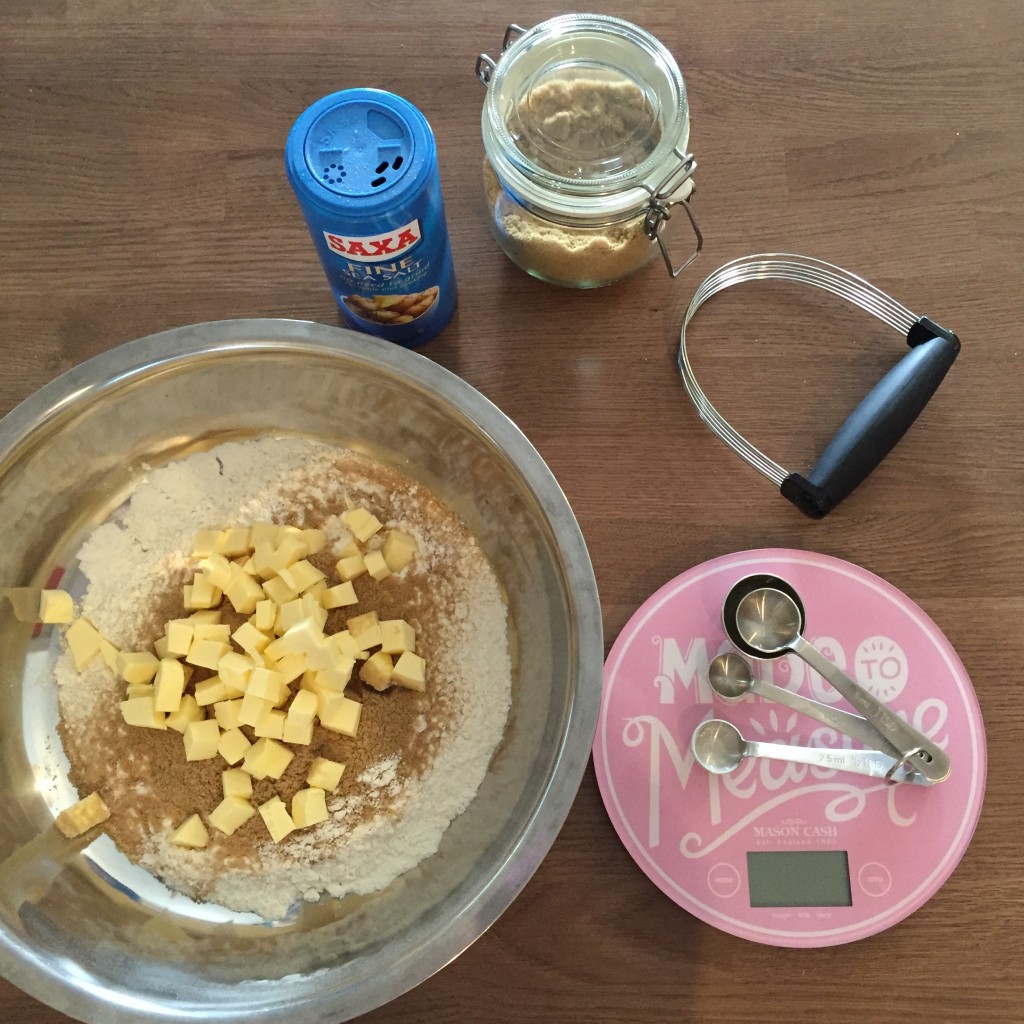
250 g plain flour*
50 g soft light brown sugar
A pinch of salt
125 g unsalted cold butter
1 large free-range egg

*You can make the tart gluten free if you replace the regular flour with a GF one and add ½ teaspoon xanthan gum)
IMG_7081
Method:

I like to prepare my pastry in advance. So let’s start with that. Sieve the flour (and xanthan gum if going GF) into a large bowl (the shallower, the better), then stir in the sugar and salt. Cut the butter into cubes, then use your hands or a pastry blender to rub it into the flour mixture until it resembles fine breadcrumbs. Beat the egg in a separate bowl, then add it to the mixture. Use your hands to bring it together into a rough dough, but don’t knead it too much. If for some reason the dough is too crumbly, you can add some milk on order to bring it all together but mine came out fine with just the egg, in fact it was still a little sticky which is totally fine since you will be using a little flour later when rolling it out to prevent it from sticking to your worktop and rolling pin. Form the dough into a flat round, roughly 2.5cm thick, wrap in cling film and let sit fridge for about 30 minutes to an hour before rolling it out.

Slice the apples and place in the fridge for a few hours (ideally overnight so they can dry up a little bit). You can add some lemon juice to prevent them from browning but they will go brown when cooking anyways so you can skip the lemon juice.

IMG_7083

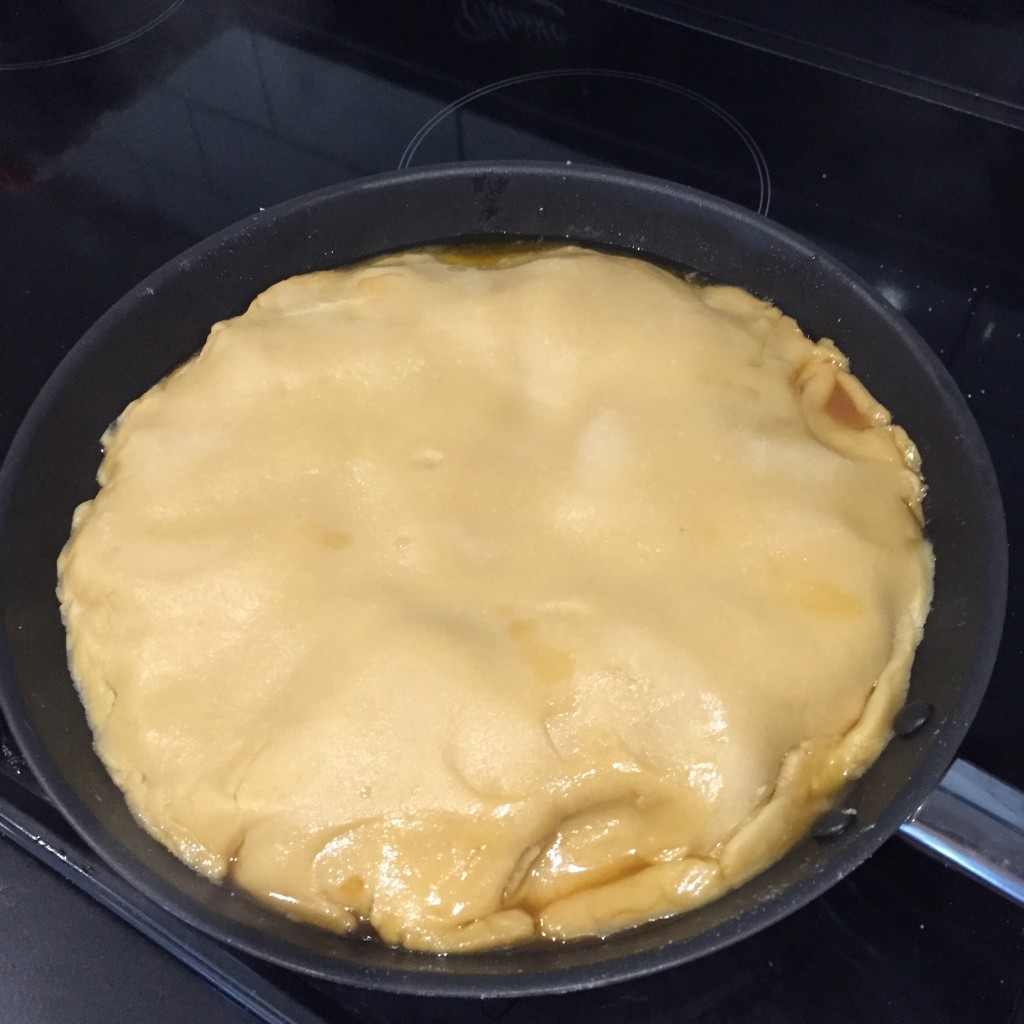
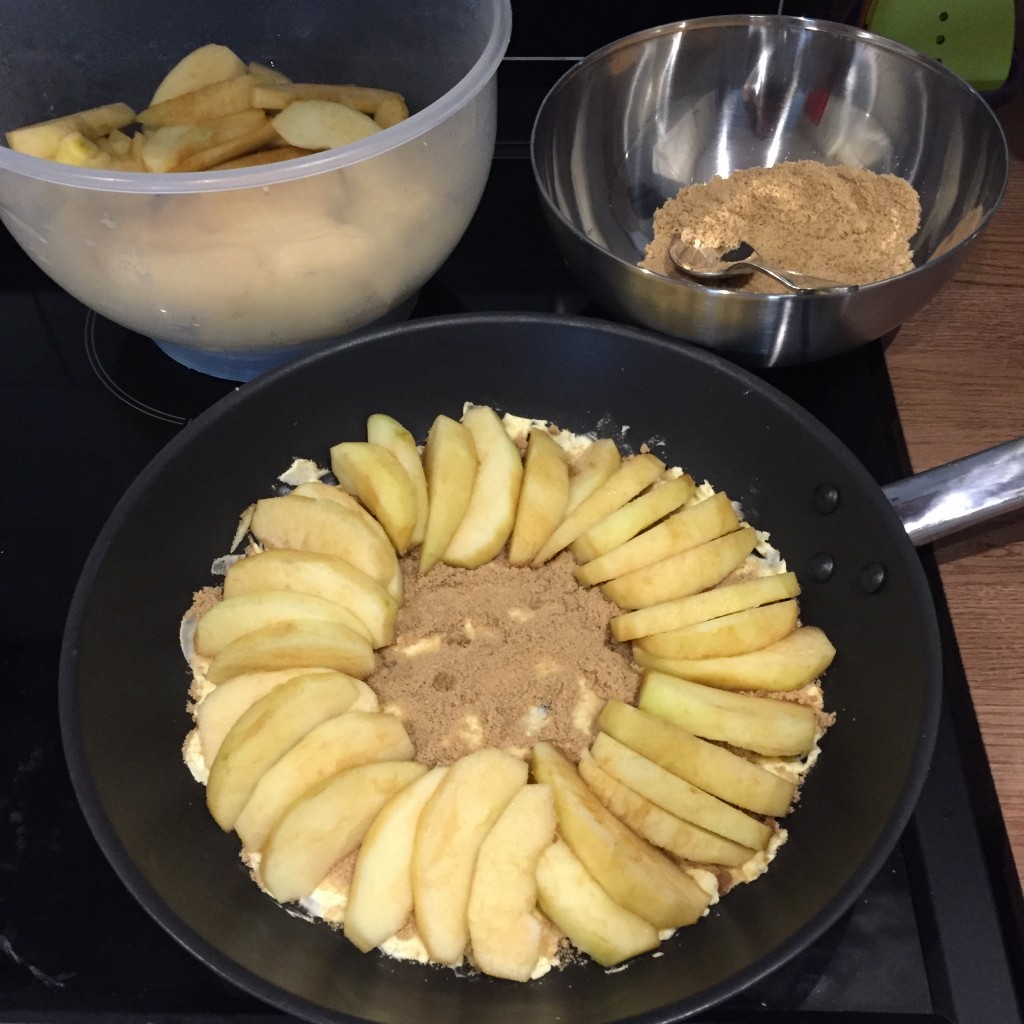
The next steps are ideally done right before you want to serve the tart. Cover an oven proof frying pan (I have an IKEA one which has a metal handle) with the butter (it needs to be a thick layer) and sprinkle most of the sugar over it and arrange the apples nicely on top, making sure the whole surface is covered. Add the rest of the sugar on top. Roll the pastry to the size of the pan and cover the apples. Place the pan on a medium to high heat on the hob. Cook for a few minutes until the juices around the edges of the pastry begin to bubble, and spoon some out of going over the pastry. Cook for another 10-15 minutes until the juice starts going darker and starts to caramelize. Then place the pan in a preheated fan oven at 170 degrees Celsius (or 180-190 if using a regular, non-fan oven). Bake for another 45-50 minutes.

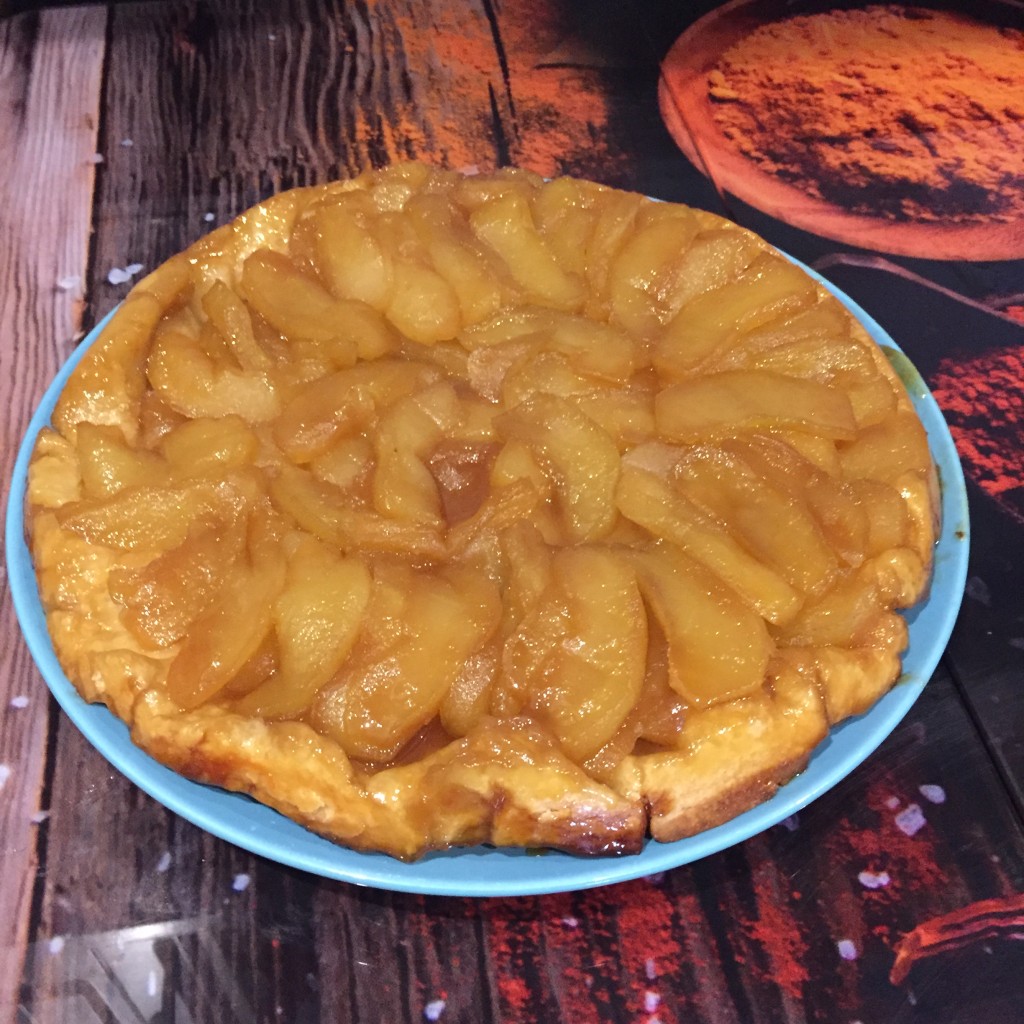
Let cool for a few minutes (around 5) once you take it out of the oven, then place a serving dish on top and carefully tip the tart over. Serve while still warm – add a scoop of vanilla ice cream or whipped cream if you like!

IMG_7085

Sharing is caringShare on FacebookTweet about this on TwitterPin on PinterestShare on Google+Share on Tumblr

Always eat your vegetables [+RECIPE]

Sharing is caringShare on FacebookTweet about this on TwitterPin on PinterestShare on Google+Share on Tumblr

I have very early memories from my childhood singing a song about vegetables and how you’d never grow up to be big and strong if you didn’t eat them. I also don’t remember ever being refused dessert for not finishing my veggies – I must have been lucky. To this day I do like (most) vegetables but then again, I also like cake. So why not combine both?

We have all heard about the almighty and oh-so-good carrot cake with cream cheese frosting. But let’s face it – carrots are so sweet they barely classify as a vegetable in my books. Which is why I like to use other, less popular veg. I am yet to make a beetroot chocolate cake but I now have 2 great courgette recipes in my ‘Let-me-amaze-you’ arsenal. I have admittedly omitted to mention the presence of courgette a time or two before the cake has been tasted but again, luckily no one has spat cake in my face yet either. So all in all – my attempt to incorporate one of your 5 a day in dessert is working well so far.

So here a recipe I discovered and already tested on my office guinea pigs (who luckily for me never say no to cake).

Lemon courgette cupcakes
(makes 10 or 12 – see below)

Ingredients:
175g plain flour
1 tsp baking powder
115g caster sugar
150g courgette (peeled and coarsely grated)
2 free range eggs
60ml sunflower oil
1tsp lemon extract

For the frosting:
200g full fat Philadelphia cream cheese (cold – straight from the fridge)
3 heaping tsps of icing sugar (approximately – add more or less according to taste)
zest of 1 lemon
1/2tsp vanilla extract

Method:
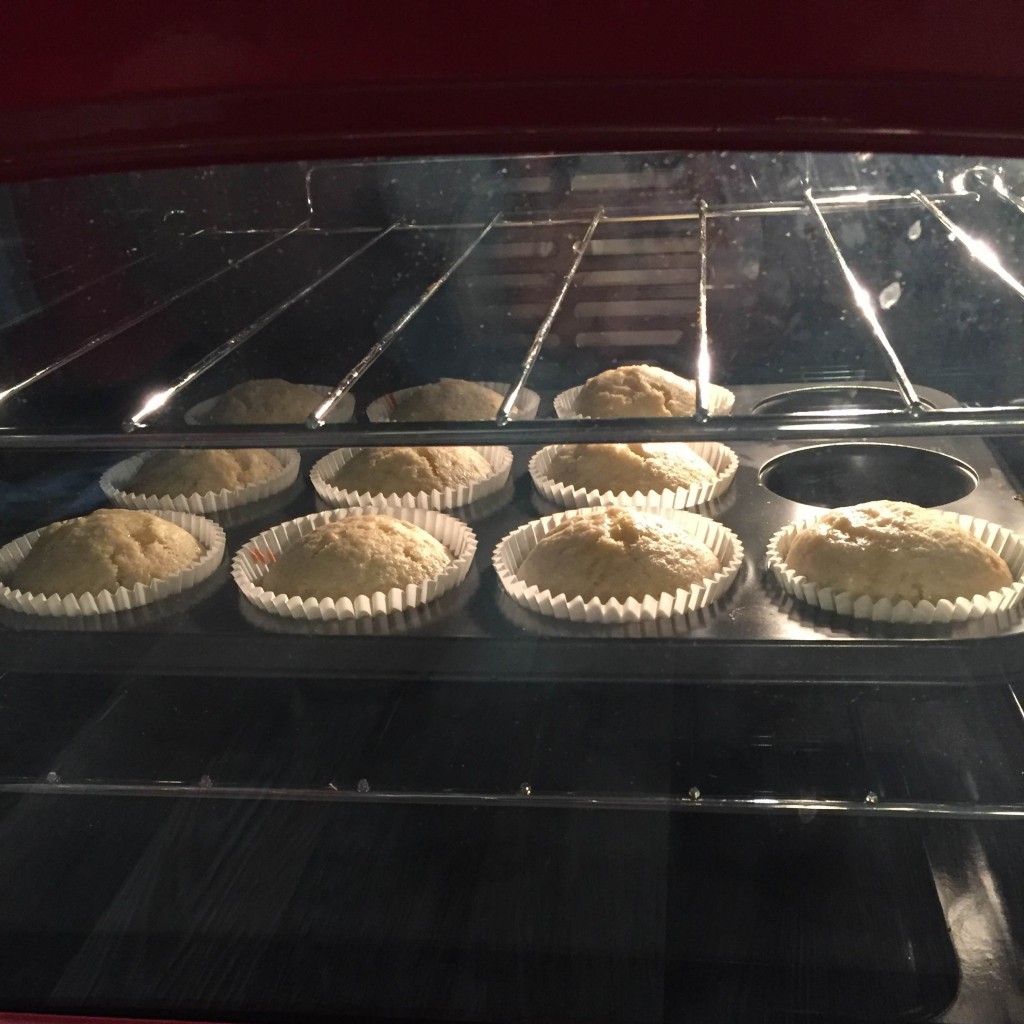
Line a muffin tin with either 12 fairy cake cases or 10 muffin ones. I prefer using muffin cases in this case as the frosting is a little runnier than buttercream so it sits nicely in the cases without spilling over. Sift the dry ingredients in a medium sized bowl. Mix the wet ingredients in a small bowl (oil, eggs and lemon extract). Add the courgettes and the wet ingredients to the dry ones and whisk well till all incorporated. Bake at 160 degrees Celsius (fan) or 180 degrees for non-fan ovens for around 23 mins or until a toothpick comes out clean. Let to cool on a rack completely.

IMG_7025

In the meantime prepare the frosting. Mix the cream cheese frosting, vanilla, sugar and lemon zest using a wooden spoon – don’t overmix so it doesn’t go too runny but make sure it’s nice and smooth. I recommend to then pop it back in the fridge for a while (at least until the cupcakes are completely cool) so it can firm up.

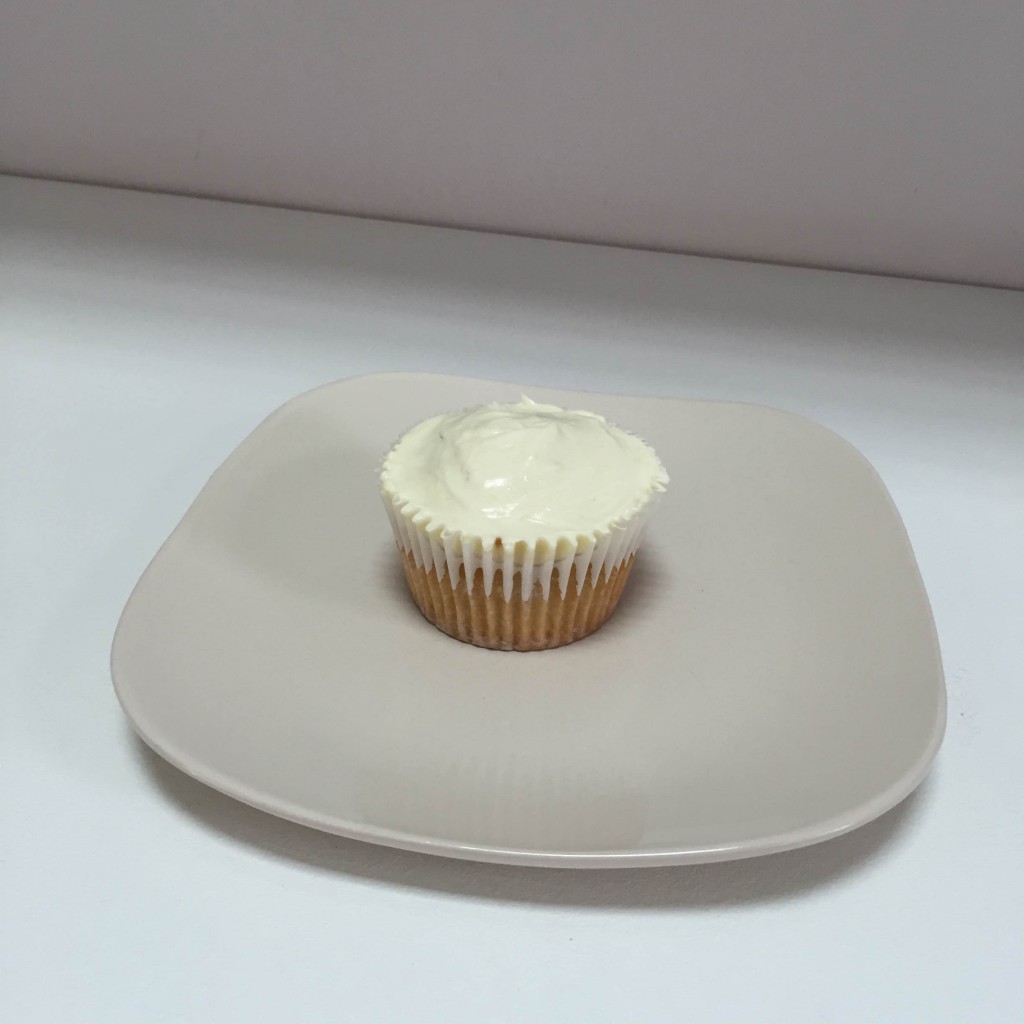
Once the cupcakes  are completely cool, spoon frosting on top and smooth out a little. I did like those looking a little bit rough around the edges to add to them even more home-made flair. If you have time or patience, you can even shave longer pieces of lemon zest to decorate. I was lazy 😉 Then serve with a cup of tea and coffee and enjoy!

IMG_7030

Sharing is caringShare on FacebookTweet about this on TwitterPin on PinterestShare on Google+Share on Tumblr

Seriously lush Cookies & Cream brownie cupcakes [+RECIPE]

Sharing is caringShare on FacebookTweet about this on TwitterPin on PinterestShare on Google+Share on Tumblr

I really don’t like letting any food items go to waste. It just seems too unfair considering there are so many people in the world less fortunate than me who would appreciate any leftovers. So when I have more eggs than I can eat, half a packet of double stuffed Oreos (which wouldn’t go to waste but would most likely get eaten in one go resulting in days of self-loathing for it), some butter and half a tub of double cream, I bake. Like any self respecting baker, I am rarely out of flour, sugar and dark chocolate, which of course helps.

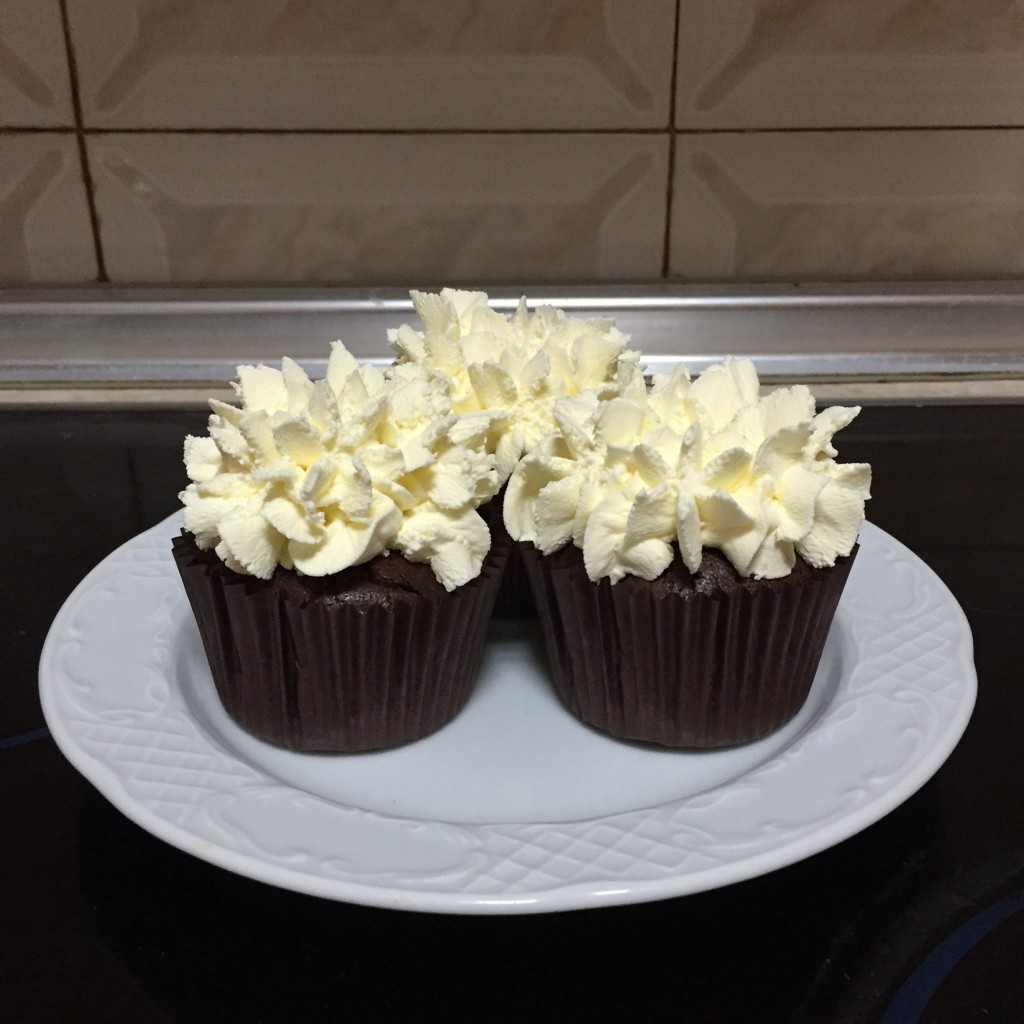
As if by request, Smitten Kitchen had just posted a recipe for lush brownies with only 5 ingredients which I automatically decided to pimp with the cream and Oreos. I crushed the Oreos and put them on the bottom of the paper cases, and the cream I whipped and piped on top. I have so far made them twice and even the pickiest brownie eaters were impressed with the part brownie, part muffin creation.

These babies disappeared shortly after

These babies disappeared shortly after this picture was taken

Seriously lush (leftover) Cookies & Cream brownie cupcakes
(makes 12)

Ingredients:
200g unsalted butter
200g dark chocolate (around 70% cocoa solids)
200g sugar
4 large eggs
1/4 tsp salt (fine sea salt preferrably)
2 tablespoons plus 1 teaspoon (20 grams) plain flour
1 packet of Oreos (around 130g)
250ml double cream
1tbsp icing sugar

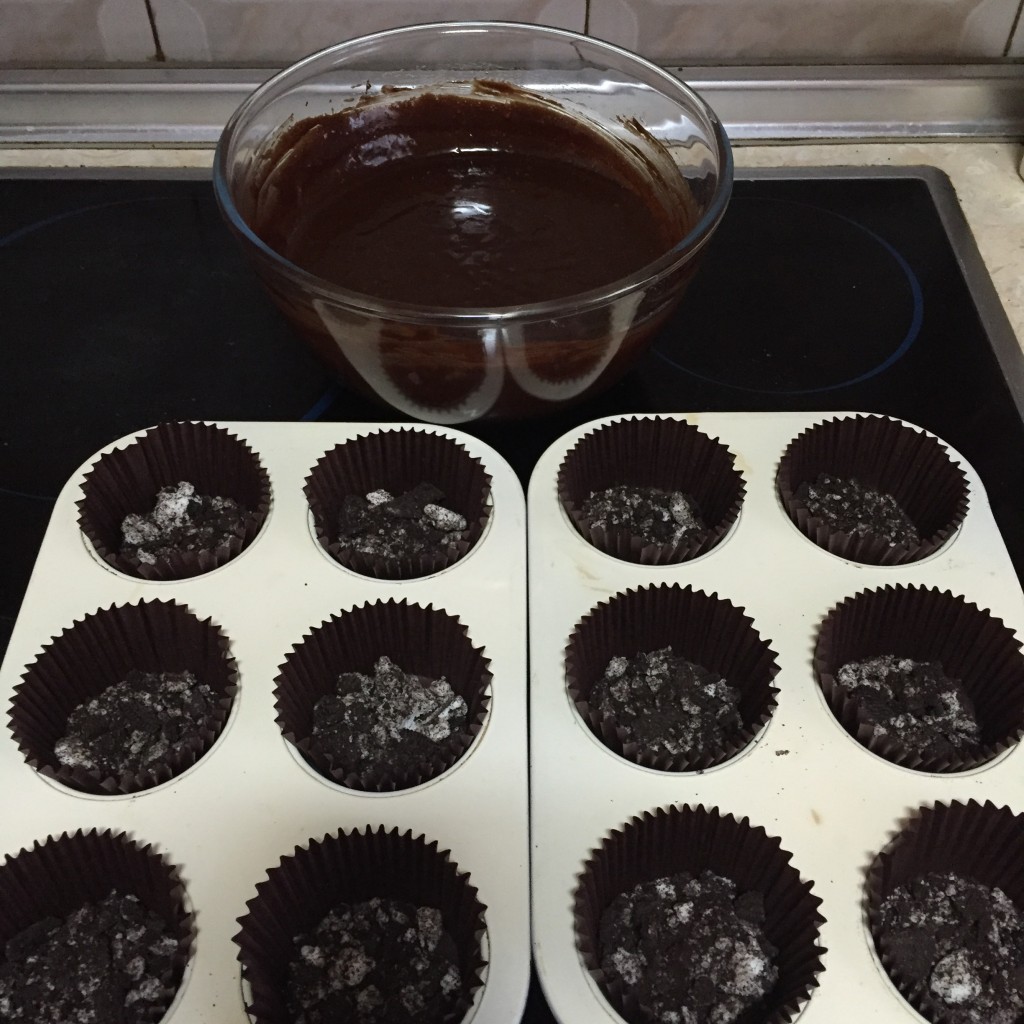
before 1

The mix is just chilling out

Method:
Preheat the oven to 165 degrees celsius. Line a 12-muffin tin with paper cases.
Melt the butter and the chocolate. I prefer doing it over bain marie (over simmering water in a heat proof bowl) but you can do it in the microwave. Just be careful not to burn it in the microwave – put it in for 15 to 30 seconds, stir well and repeat till all melted. Add the sugar which will cool it down. Then whisk in the salt and the eggs, one a time mixing well between them. Stir flour in and then cover with clingfilm and let is rest for about half an hour, this will thicken the mix. While it’s sitting in the bowl, crush Oreos (I bash them in a ziplock bag with a wooden rolling pin) – but not too finely, make sure you have small chunks and not just breadcrumbs. Split the crushed Oreos in the muffin cases (it’s about a tablespoon in each). Whisk double cream with icing sugar till soft peaks form (you can do it by hand but I recommend using an electric mixer so that your arms are not sore after).

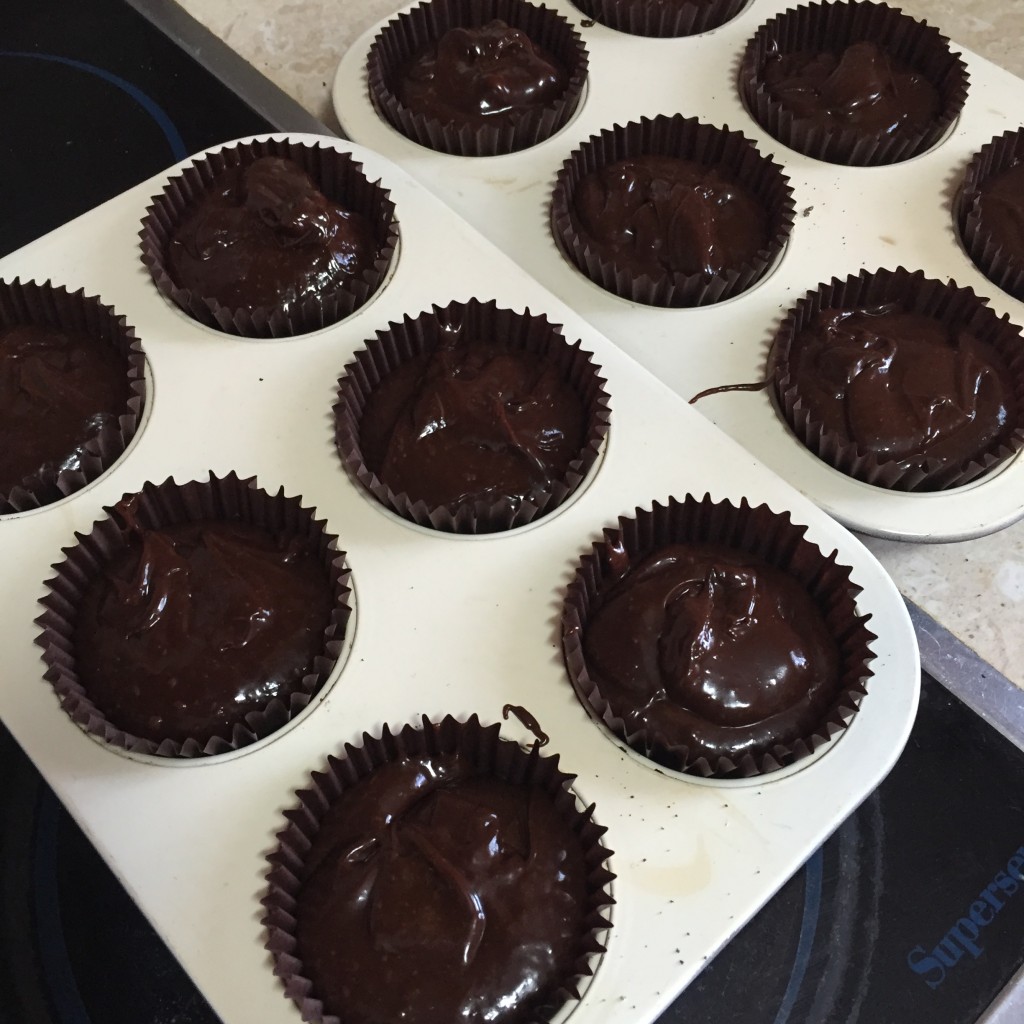
When the mixture has sat for 30 minutes or so, scoop it into the muffin cases. Bake for around 25 to 30 minutes, but make sure you don’t overbake as you want them to be a little gooey still. Look for no batter on a toothpick but wet crumbs! Let them cool completely, then pipe cream on top and enjoy!

Before they went into the oven

Before they went into the oven

Sharing is caringShare on FacebookTweet about this on TwitterPin on PinterestShare on Google+Share on Tumblr

Autumn is here: pumpkin cupcakes [+RECIPE]

Sharing is caringShare on FacebookTweet about this on TwitterPin on PinterestShare on Google+Share on Tumblr

Jeans, rainy weekends and Halloween planning means Autumn has arrived. As sad as this makes me and as much as I am going to miss my bikini, I am also looking forward to days spent under the duvet, hot chocolate, soups, and of course: pumpkin! Pumpkin soup, roast pumpkin, pumpkin cake – it is all so very exciting 🙂 And since sharing is caring, you can find below a delicious autumn recipe to whip up when the weather is too miserable to be outside!

Pumpkin cinnamon cupcakes with cream cheese frosting
(makes 18, includes about 2 hours to prepare pumpkin)

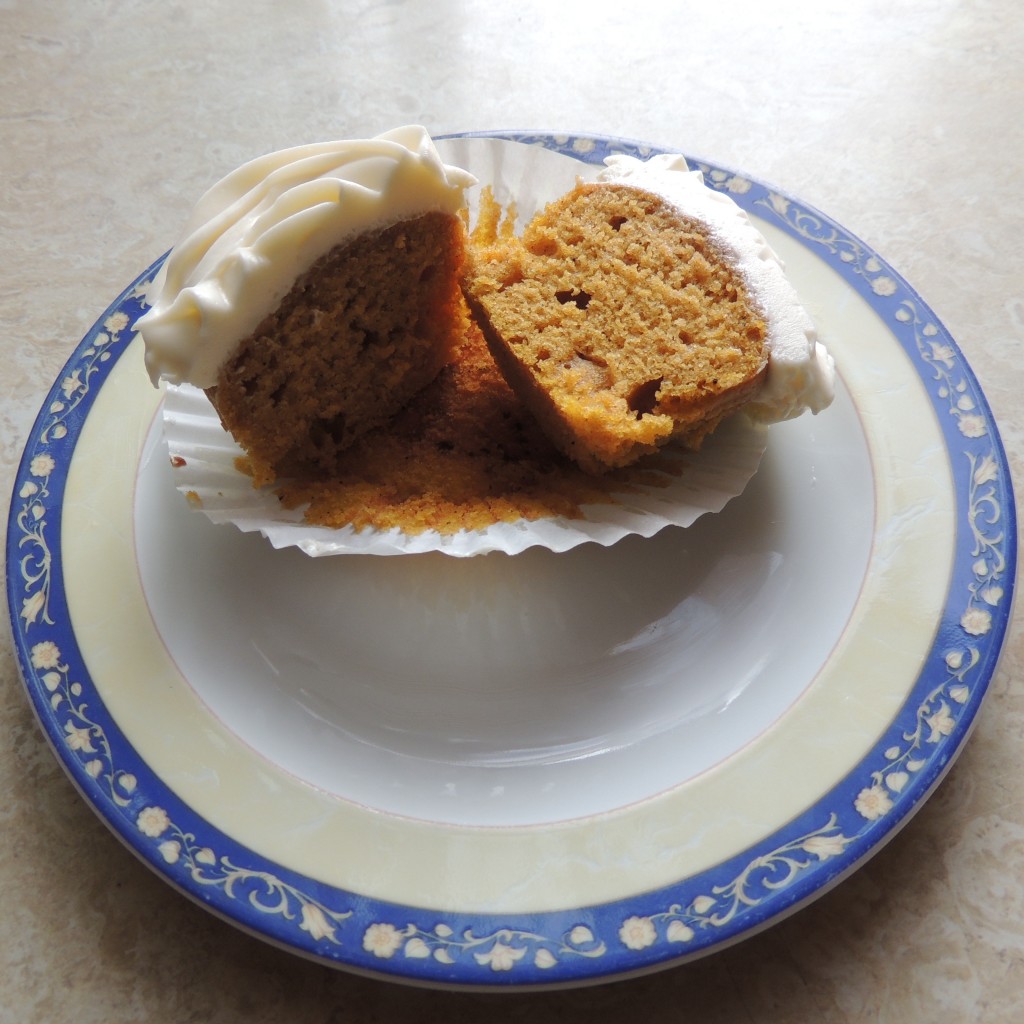
pumpkin cupcakes

Ingredients:
400g pumpkin
2 cups of plain flour
1 cup of light soft brown sugar
1/2 tsp salt
1 tsp baking powder
1/2 tsp baking soda
1tsp allspice
1 1/2 tsp cinnamon
2 eggs
1/2 cup of vegetable oil
1 tsp vanilla extract

75g soft unsalted butter
120g cream cheese
420g icing sugar
2-3 tbsp whole milk (if needed)

Method:
Sprinkle pumpkin with allspice and roast for about 1 hour in a preheated oven, wrapped in alum. foil. Let it cool, then blitz the flesh in a food processor until it forms a smooth puree. Preheat oven to 180 degrees Celsius. Mix the pumpkin puree in the bowl of a stand mixer with eggs, oil and vanilla until light and fluffy. Whisk dry ingredients together in a large mixing bowl and make a well. Add wet ingredients and and mix gently. Scoop in a lined cupcake tin until 2/3 full, then bake for 18-20 minutes or until a toothpick comes out clean.

While cakes are in the oven, you can prepare the frosting. Mix the butter and cream cheese for a few minutes in the bowl of a stand mixer, or with a hand one, until it’s all well incorporated. Add the sifted sugar in 2 batches, mixing really well between additions. Add a few spoons of milk if it’s too stiff to pipe – this will loosen it up.

Frost cupcakes in any way you like and enjoy with a hot cup of coffee or tea!

cut cupcake

I love the colour pumpkin gives to cakes

Sharing is caringShare on FacebookTweet about this on TwitterPin on PinterestShare on Google+Share on Tumblr

Nutella Cupcakes [+RECIPE]

Sharing is caringShare on FacebookTweet about this on TwitterPin on PinterestShare on Google+Share on Tumblr

There are very few people I know who do not like Nutella. And they’re not close friends. Now, let’s be honest – who would want to be friends with anyone who doesn’t appreciate the warm fuzzy feeling this lovely hazelnut chocolate spread provides? There are also very few people in my life who do not like cupcakes (ok, I get it, you have a savoury tooth. Now go gobble your pack of crisps and close this blog. Nothing for you here). So needless to say, I have now made these Nutella cupcakes twice and they have been a success both times. The first time I used the original recipe Jemma posted, the second time I had no hazelnuts so I made her chocolate cupcake base instead and smothered it in the Nutella frosting. Both worked a charm! So here we go:

Jemma’s Nutella Cupcakes
(makes 12)

Ingredients:
For the cupcakes:
50g of roasted skinned hazelnuts, reduced to fine crumbs + 36 extra whole ones  to decorate (optional)
100g self-raising flour
25g cocoa powder
125g caster sugar
1/4 tsp baking soda
pinch of salt
140g unsalted softened butter
2 large free-range eggs
1,5 tbsp of whole milk with a little vanilla extract

For the frosting:
100g softed unsalted butter
150g Nutella
225g sifted icing sugar
A few tbsp of milk to soften it up

Method:
To make the cupcakes, sift dry ingredients together (incl. blitzed hazelnuts) in a medium bowl (or the bowl of the stand mixer), then add butter and eggs and mix for about 30 seconds on medium. Add milk and vanilla and beat for another minute.

Scoop even amounts in a lined cupcake tin and bake at 170 degrees Celsius for about 20-22minutes, depending on your oven.

In the meantime, you can make the frosting. Beat butter and Nutella together for 4-5 minutes on a high speed. Then add icing sugar in 2 batches, beating well inbetween (starting on a slow speed and increasing after). Add a few tablespoons of milk to soften it up if too stiff.

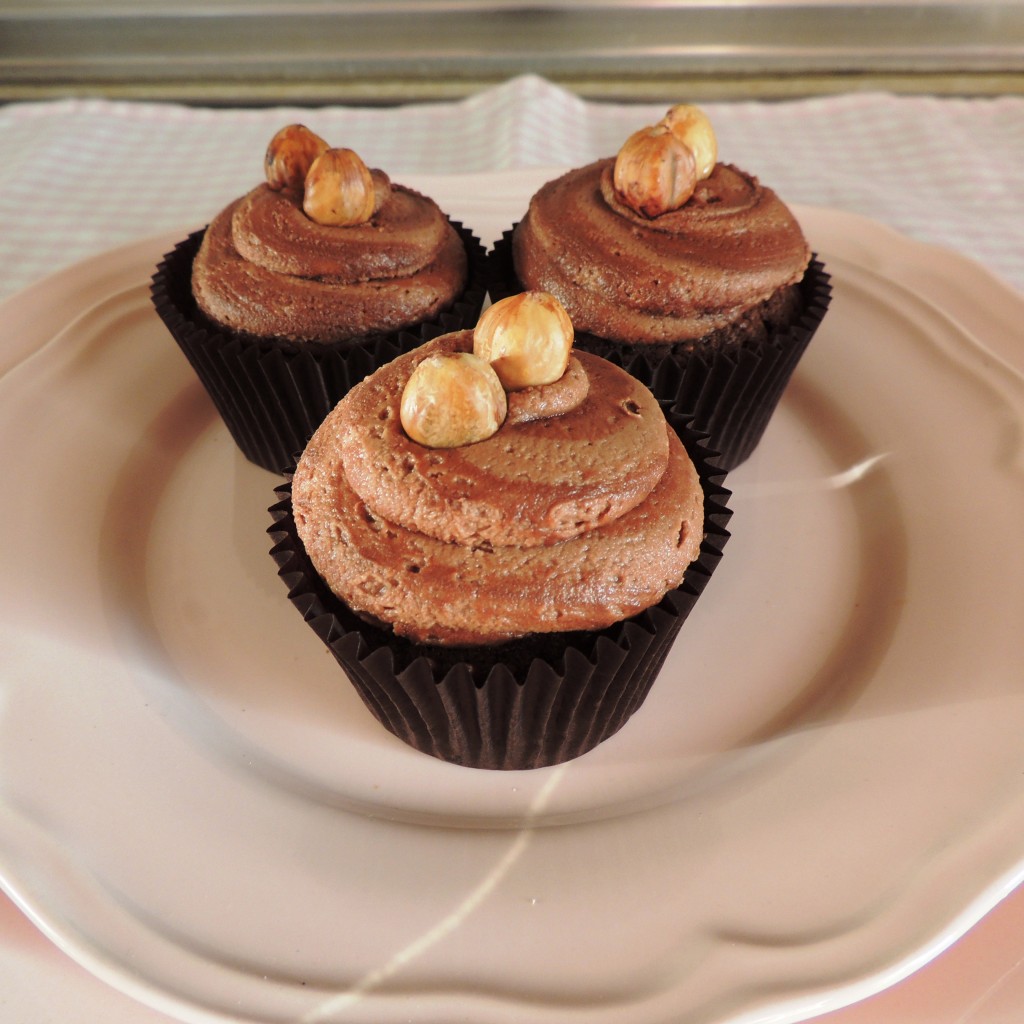
In order to make the frosting even better, add some of it in strikes to the inside of your piping bag with a palette knife (or a butter knife if you don’t have one). This will add nice stripes and extra flavour. Pipe as desired and pop a few whole hazelnuts on top to decorate.*

These did not last very long...

These did not last very long…

*The first time I added only 2 hazelnuts per cupcake. It was, however, my friend’s birthday and the restaurant added the candles in such a way that the ensemble did not look like 2 hazelnuts and a candle inbetween but… you know what I mean. So I strongly recommend using 1 or 3 hazelnuts each if you’d be adding birthday candles.

Sharing is caringShare on FacebookTweet about this on TwitterPin on PinterestShare on Google+Share on Tumblr

Decadent brownie cookies with posh sea salt [+RECIPE]

Sharing is caringShare on FacebookTweet about this on TwitterPin on PinterestShare on Google+Share on Tumblr

Following the 6th season of the Great British Bake Off closely has made me realise a few things. I am not posh, nor do I endeavour to be. I don’t use anything as fancy as rosemary in sweet bakes, or elderflower cordial. Hell, I can’t even pronounce cordial properly. But what I do, I usually do well, even if it’s more classic and has simpler ingredients. So I myself was really surprised by my recent splurge of 125g of Maldon Sea Salt flakes at the outrageous price of £2*. The recipe did call for it, though. And since I have now baked the same thing twice in 2 weeks for no particular reason (highly unusual for me) using these salt flakes, I am confident to say it was worth it. I hope this doesn’t make me a posh baker. Or does it? Eeeek.

In any case, I now feel obliged to share with you why you also need this salt in your life. Because it is used for sprinkling over the most decadent chocolate brownie cookies (and also good quality steak, but you know… it’s all about baking here). Trust me, you have subconsciously dreamt of these your entire life. So go ahead and indulge. You will want to thank me after (and please do so in the comments, if you like).

You can find the video tutorial here but I have written out the recipe for easier planning and shopping.

Jemma’s Salted Chocolate Brownie Cookies
(makes approx. 24, depending on your scoop size)

Ingredients:
395g dark chocolate bars or chips (at least 70% cocoa)
50g unsalted butter, chopped
120g rye flour (I couldn’t find it so I just used plain flour)
1tsp baking powder
1/4 tsp salt
4 large free range eggs
270g light soft brown sugar
Maldon sea salt for sprinkling

Method:
Using a Pyrex or metal bowl over a pot of water (also known as bain marie), melt chocolate and butter over low heat. Set aside to cool down a little. Crack eggs in the bowl of a standing mixer (or a large bowl if using a hand held one), add sugar and beat for 5-6 minutes with the whisk attachment until it is all very fluffy and has almost trippled in size. Add the chocolate and whisk on on low speed until it is all incorporated. Then add the sifted dry ingredients and mix very slowly (as if you’re folding it in).

Leave the mixture in the fridge for about an hour so the mix can set a little and can be scooped. Don’t even think of baking in straight away as it is sticky and liquidy like a brownie batter.

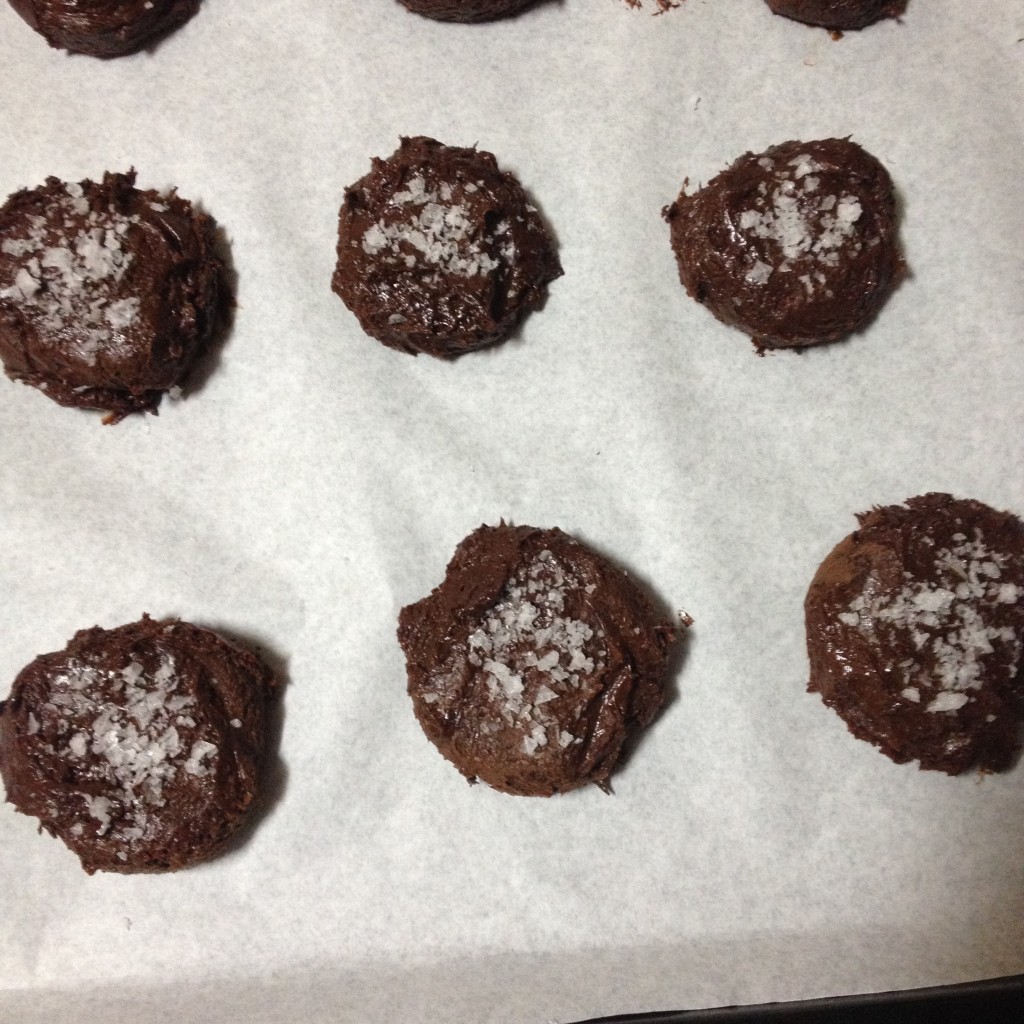
Once it is firm, scoop these on a baking tray lined with parchment and leave plenty of space inbetween. Flatten them out a little and sprinkle with the sea salt. Bake in a preheated oven at 180 degrees Celsius for 8 to 10 minutes, the center should be still a little soft to give them the chewy texture they deserve once they’ve cooled down. Let cool and try not to devour them all in 5 minutes. Or do.

brownie cookie raw

Before: Do not panic. Looks improve with baking time!

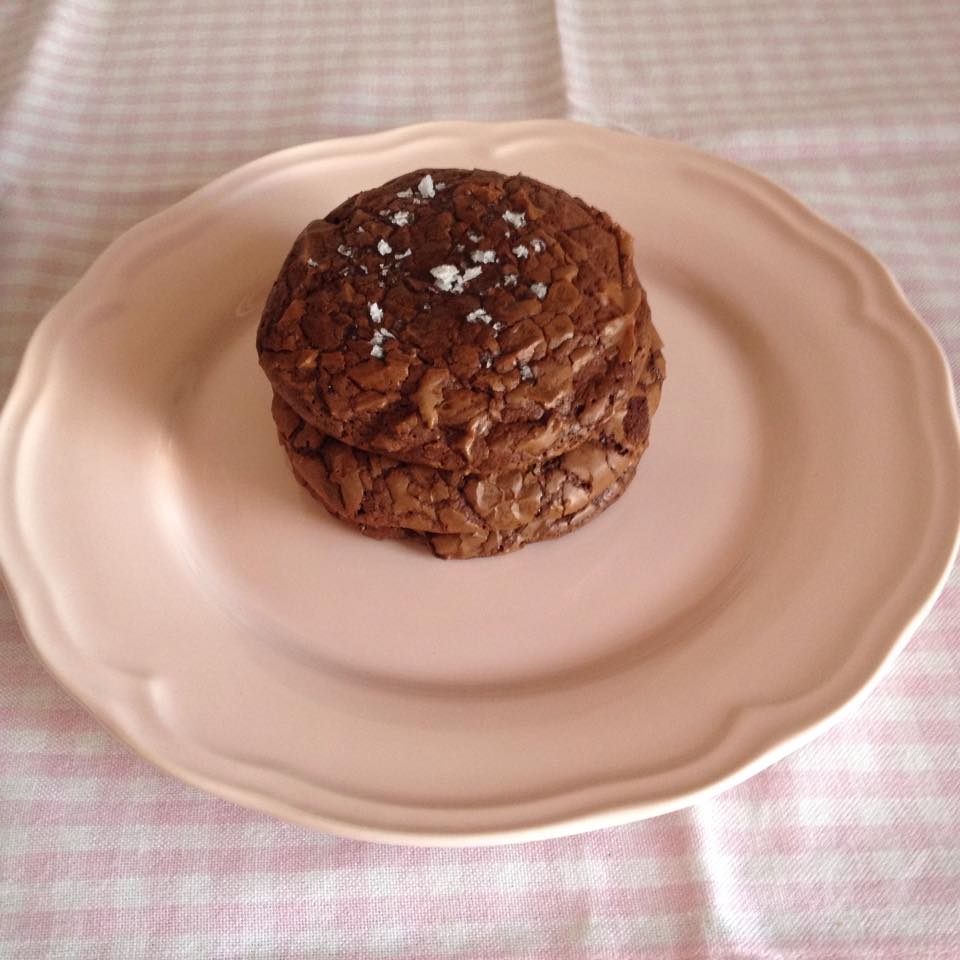
brownie_cookie_baked

It is difficult not to eat 3 or 5 at a time. Or, you know, all of them.

Sharing is caringShare on FacebookTweet about this on TwitterPin on PinterestShare on Google+Share on Tumblr

Guilt free muffins [+RECIPE]

Sharing is caringShare on FacebookTweet about this on TwitterPin on PinterestShare on Google+Share on Tumblr

While I take food allergies seriously, there seems to be a trend of going gluten free, whether you are indeed intollerant to it or not. Is it all a marketing scam to sell you oats at £8 a kilogram as opposed to the ‘normal’ ones costing only £1? Which is why I myself am rather skeptic to the ‘free from’ foods. But not when I make them at home! Then it’s not about gluten, but mostly about carbs, sugar, saturated fats etc. Which is basically what cake is made of, I know. But alas, I have finally found a recipe which is has no gluten, is low carb, has no sugar or butter, and actually tastes like baked goods! It also passed the toddler test when fellow blogger Polly Mixtures came over with Mini Mixtures- who, at the age of 1 and a bit, was absolutely ecstatic about those muffins. Calories – 0, Nadia – 1! Here the recipe, which I found on this blog and pimped by using my own home-made apple sauce and by adding roasted hazelnuts (I also had to bake for longer but I just blame my oven for this). It didn’t say how many muffins the recipe yields but I doubled it and ended up with 18.

Apple, cinammon and hazelnut muffins
(makes 9)

Ingredients:
5 large, free range eggs1 cup apple sauce
½ cup coconut flour
2-3 tbsp cinnamon
1 tsp baking soda
1 tsp vanilla (optional)
¼ cup coconut oil
1 cup of roasted chopped hazelnuts
Extra stevia if you prefer the muffins sweeter, mine actually tasted inbetween sweet and savoury, just how I like them

Method:
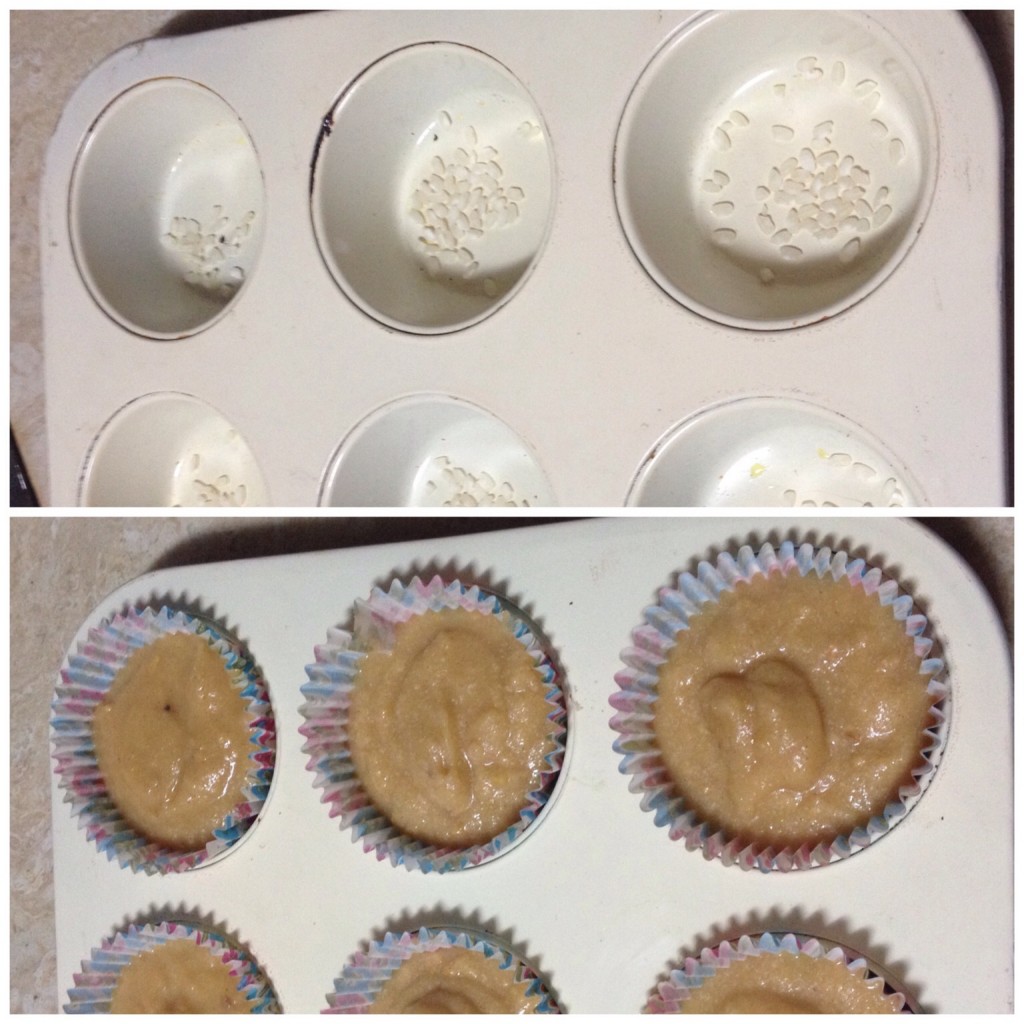
Preheat the oven to about 200 degrees Celsius. Line a muffin tin (I always sprinkle some rice under the cases so air can go under and they don’t go soggy. Mix all ingredients in a mixing bowl using a whisk. Let it sit for about 5 minutes. Pour into cases using an ice cream scoop or a spoon or a measuring cup until 3/4 full. Bake for about 20 minutes or until they are nice and golden and a toothpick comes out clean. You can glaze with honey or jam if you are not too fussed about the sugar in it (unles you get a sugar free one). Let cool and enjoy completely guilt free!

IMG_4813

Before the oven – kind of looks like baby food!

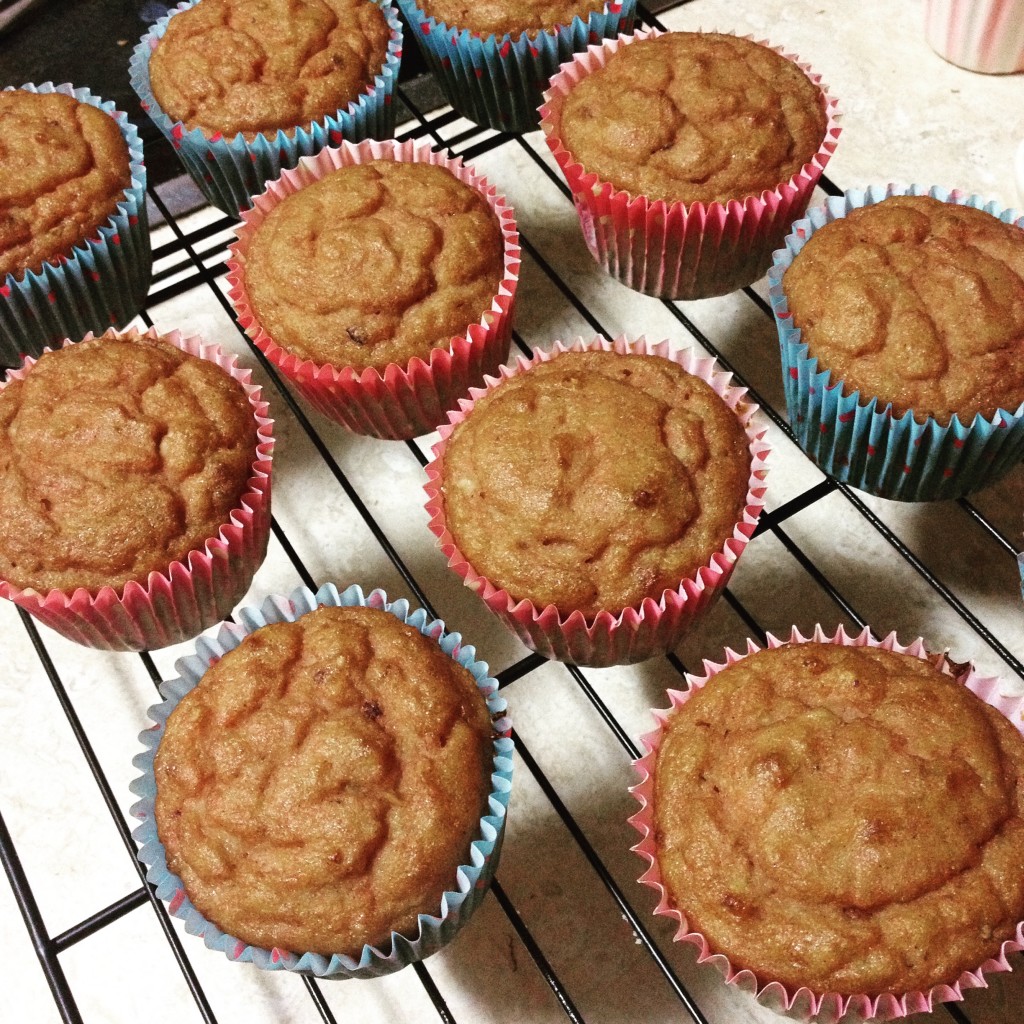
IMG_4815

That’s more like it!

Sharing is caringShare on FacebookTweet about this on TwitterPin on PinterestShare on Google+Share on Tumblr

Sugar free apple sauce [+RECIPE]

Sharing is caringShare on FacebookTweet about this on TwitterPin on PinterestShare on Google+Share on Tumblr

Season 6 of the Great British Bake Off started last night and I was suddenly itching to bake again (even though on Friday I was throwing plenty of ‘No more baking for at least 2 weeks’ around). But this time I wanted to eat it too and I am trying to eat healthy so I stay away from grains, sugar, butter – basically almost everything which cake contains. But I still have some coconut flour left so decided to explore the healthy baking road again.

The recipe I eventually chose called for apple sauce. Now, I have always been an ambassador for easy and have so far used store bought apple sauce. But since I am trying to avoid sugar, and since there was plenty of apples about to go bad in the fridge, I decided to finally succumb to making everything from scratch. Happy to report this time it was a success! This apple sauce can be used not only for baking but also to accompany roast pork etc. It is also easily customizable so you decide how much cinnamon you can add, how sweet to make it, how thick, etc. Here the recipe:

Home made sugar free apple sauce (also gluten free)
(makes a few cups)

Ingredients:
6 apples (any you like or have at hand)A pinch of cinnamon (optional)
A cup of water
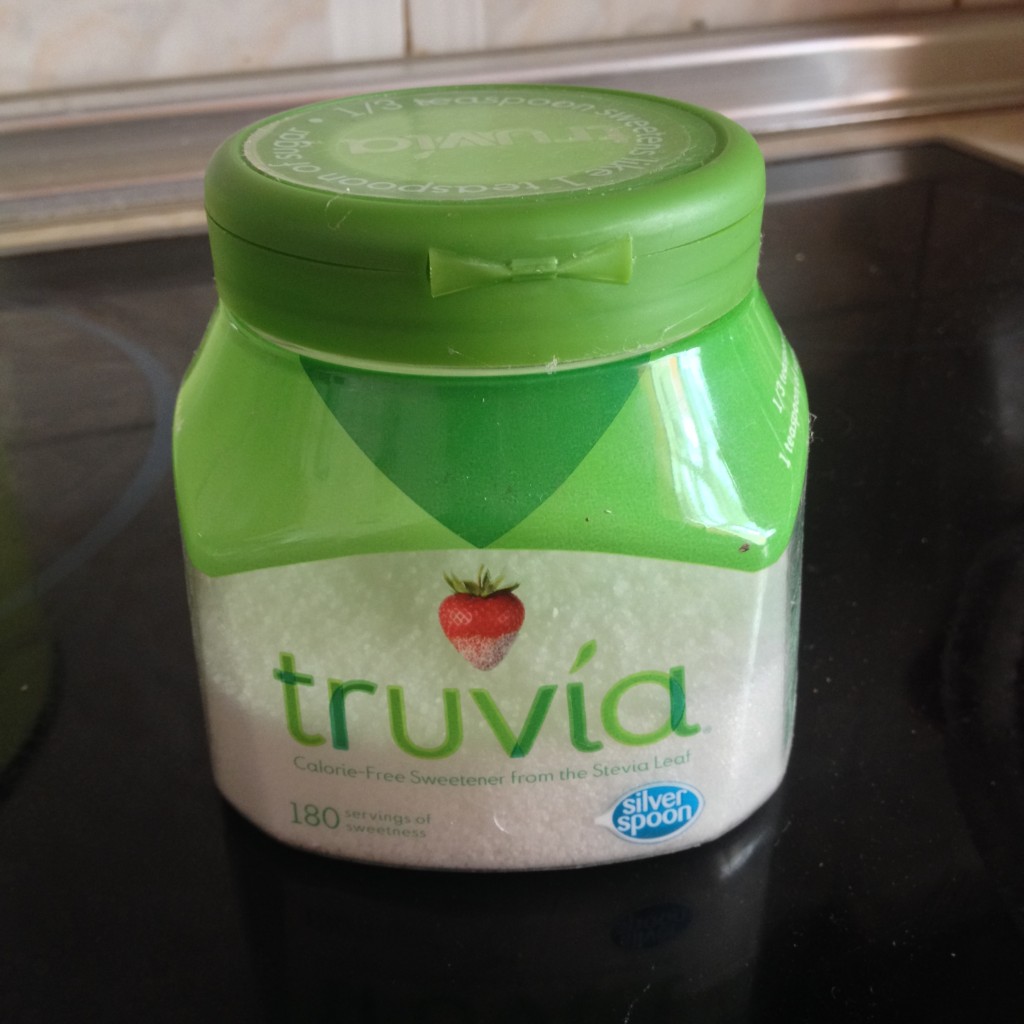
1 tbsp stevia (optional), see picture below

Method:
Peel and chop apples. The smaller the pieces, the quicker it will cook. Add to a pot together with water, cinnamon and stevia. You don’t need to add sweetener if you don’t want the sauce to be too sweet but since I am using the sauce as a substitute to sugar, I added some stevia for extra sweetness. Let simmer over medium – high heat for approximately 20 mins, stirring occasionally. If you want a thicker sauce, use less water but stir more often to avoid sticking to the pan.
Once the mixture has been cooked and apples are nice and soft, puree with a hand held blender. Let cool and enjoy!

IMG_4805

The stevia I use for baking

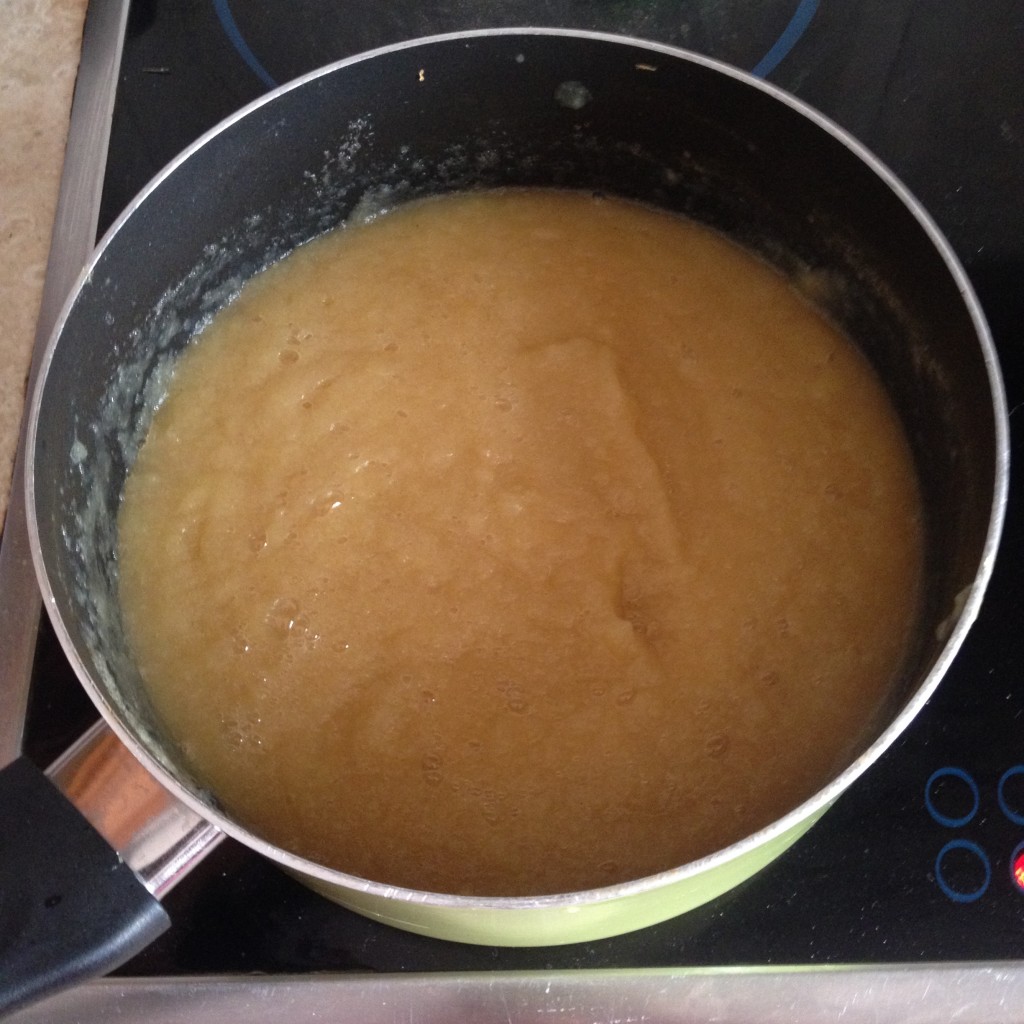
IMG_4806

The finished apple sauce

Sharing is caringShare on FacebookTweet about this on TwitterPin on PinterestShare on Google+Share on Tumblr

And I quote: “Possibly the best cupcakes ever” [+RECIPE]

Sharing is caringShare on FacebookTweet about this on TwitterPin on PinterestShare on Google+Share on Tumblr

Father’s day was not too long ago and as the designated baker in the family, it was my task to provide cake or cupcakes for the celebrations. I wanted to try a new recipe but wanted it to be a ‘manly one’ somehow. What do men generally like? Football, beer, cars. Luckily, I remembered a recipe Jemma posted not long ago for chocolate Guinness cakes – and it seemed really fitting!

I wasn’t sure what to expect – would you be able to taste the beer? Would it be weird. Little did I know that they will turn out to be amazing. Chocolatey but not overpowering, very moist and with an extremely velvety texture. It is like chocolate cake and fudge had a love child.

You can find the video recipe here but I have written it out below (easier to copy paste ingredients for a shopping list, etc.). Since mine were for father’s day, I had to write little messages with food coloring on a fondant plaque:

Father’s Day Hit

Chocolate Guinness Cupcakes
(makes 12)

Ingredients:
125ml of Guinness Original (from a bottle, not a can)
125g chopped unsalted butter
140g plain flour
35 g of cocoa powder
200g caster sugar
1 1/4 tsp baking soda
70g sour cream
1 large free range egg
1/2 tsp vanilla extract

1 batch of cream cheese frosting (or use Jemma’s recipe)

Method:
Melt butter in Guinness over low heat and set aside. Sieve dry ingredients in a bowl and give it a whisk to mix them all in. In a separate bowl, mix the sour cream, the egg and vanilla as well as the Guinness butter (cooled down). Add dry ingredients to wet ones and whisk until it is all incorporated.

The mixture will be runny so pour it in a jug. Line a muffin/cupcake tray with cases and split mixture amongst 12. Bake at 150 degrees Celsius (fan oven) for 22 minutes. While they’re in the oven, prepare the frosting.

Let cool and decorate with cream cheese frosting.

Sharing is caringShare on FacebookTweet about this on TwitterPin on PinterestShare on Google+Share on Tumblr

Gluten- and (almost) lactose free raspberry cupcakes [+RECIPE]

Sharing is caringShare on FacebookTweet about this on TwitterPin on PinterestShare on Google+Share on Tumblr

What is the best way to say thank you if you are a baker, you may wonder? With cupcakes, no doubt. What is the best say to celebrate an achievement too? Yes, you guessed it. Freshly baked cupcakes all the way.

This week I finally passed my theory and driving motorcycle exams and to thank the people who supported me and to mark the occasion, I whipped up some gluten- and (almost) lactose free raspberry cupcakes. What a mouthful! But when allergies are involved, you can never be too careful. There are so many recipes for gluten and/or lactose baking out there, vegan and what not but to be perfectly honest, some of them are not worth the effort, at least from the sound of it. So what I tend to do is use my normal recipes but adjust the ingredients. I think they were a success, especially since I had to run to take a picture of the last one before it was devoured! What do you think?

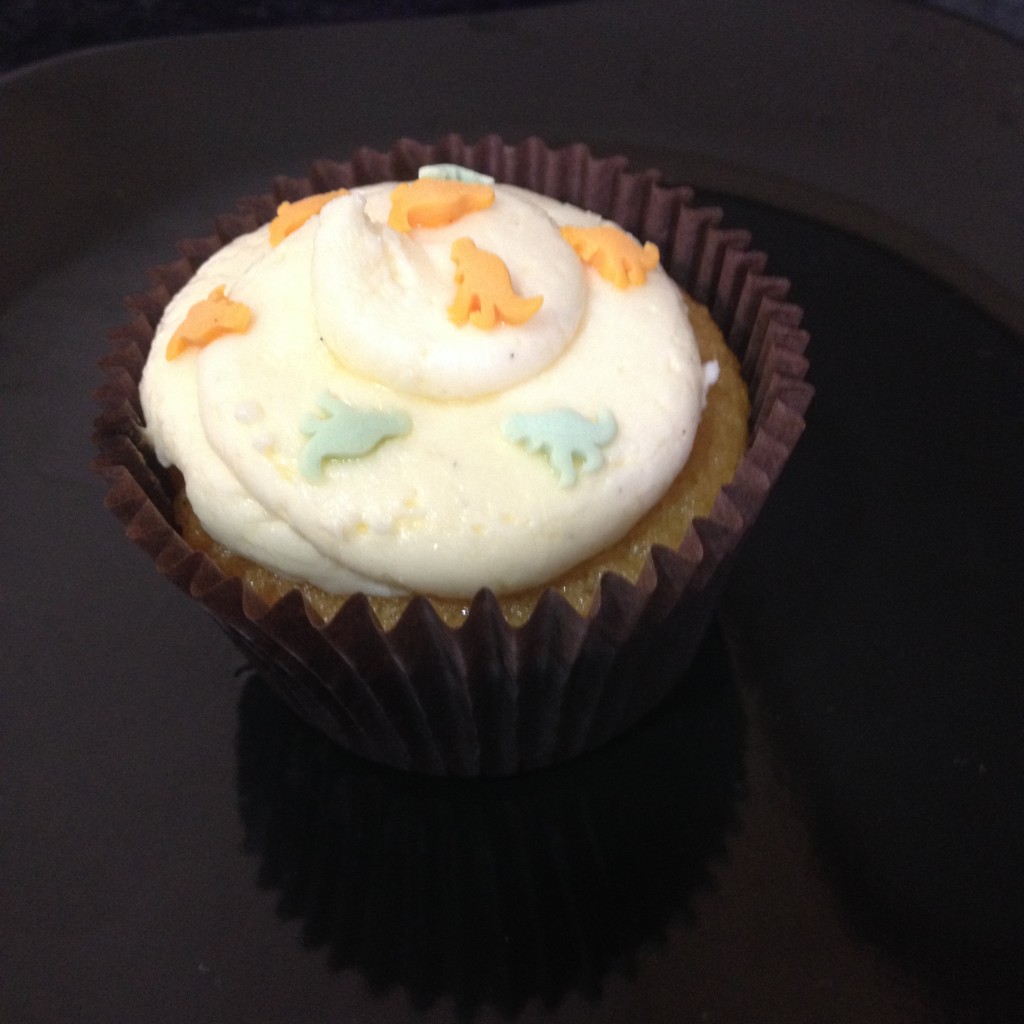
Aren't the dinosaur sprinkles the best?

Aren’t the dinosaur sprinkles the best?

I used CupcakeJemma‘s recipe for vanilla cupcakes with her vegan buttercream recipe but replaced ingredients and added my own touch so here we go:

Gluten- and (almost) lactose free raspberry cupcakes
(makes 24)

Ingredients for the cupcakes:
250g self-raising gluten free flour
250g caster sugar
1/2 tsp of bicarbonate soda250g of soft unsalted dairy free soya butter (or spread)
4 large free range eggs
3 tbsp of lactose free milk
1/2 tsp of vanilla extract
100g of chocolate chips (I used normal milk chocolate chip ones – hence it’s ‘almost lactose free’. You can skip those, or substitute for dairy free chocolate)
150g fresh raspberries

Ingredients for the (vegan) frosting:
200g dairy free soya butter (or spread)
660g icing sugar
1/2 tsp vanilla bean paste

Dinosaur (or any other) sprinkles

Method:
Preheat your oven to 170 degrees Celsius. Sieve the dry ingredients in a large mixing bowl (I have a stand mixer so just use its bowl). Add the butter and eggs and beat for about 60 seconds starting on a low speed and increasing to medium-high. Add milk mixed with vanilla and blast for another half a minute. Scrape everything off the bowl. Gently fold the chocolate chips (if using) and fresh raspberries and fill the paper cases two thirds full. Bale for 20-22 minutes (I baked them 22 as my oven doesn’t have a fan). Leave to cool.
While the cupcakes are baking, make the frosting. Beat the soya butter in the electric mixer until smooth (1-2 minutes). Sift the icing sugar in a separate bowl, then add to the soya butter in 2 batches and beat well after each sugar addition (start on slow speed unless you want it to snow sugar all over your kitchen). Add the vanilla (and a spalsh of water if too stiff) and beat for another few minutes on medium high speed. Once the cupcakes have cooled completely, you can pipe as you wish and add sprinkles. Jemma is showing some pretty cool piping techniques here.

Sharing is caringShare on FacebookTweet about this on TwitterPin on PinterestShare on Google+Share on Tumblr