And they ate cake happily ever after

Sharing is caringShare on FacebookTweet about this on TwitterPin on PinterestShare on Google+Share on Tumblr

Because very few things makes living happily ever after happier than doing so while eating cake! Or at least eating a wedding cake, right?

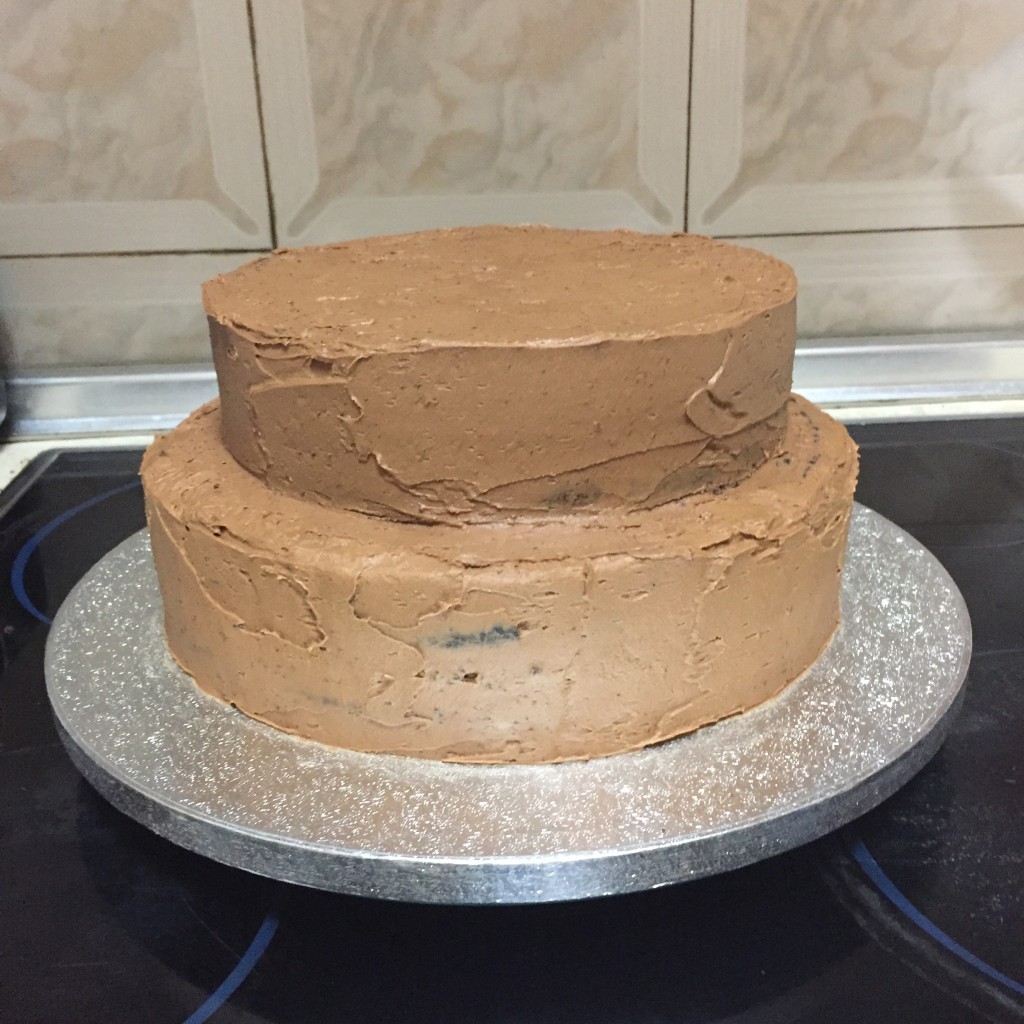
So imagine my excitement when I was tasked to do a cake for a small, intimate wedding. I was over the moon. It was a bit of a short notice, at least as far as weddings go, but the cake wasn’t overly complicated either so I agreed to do it amidst all the work which was happening in our new flat. Bad idea, you’d think – but I didn’t think so at the time. I miraculously pulled it off – however, I will think twice next time I am in such a situation. I present you a very chocolatey 2-tier wedding cake decorated in white buttercream rosettes, accompanied by matching cupcakes because cupcakes, you know.

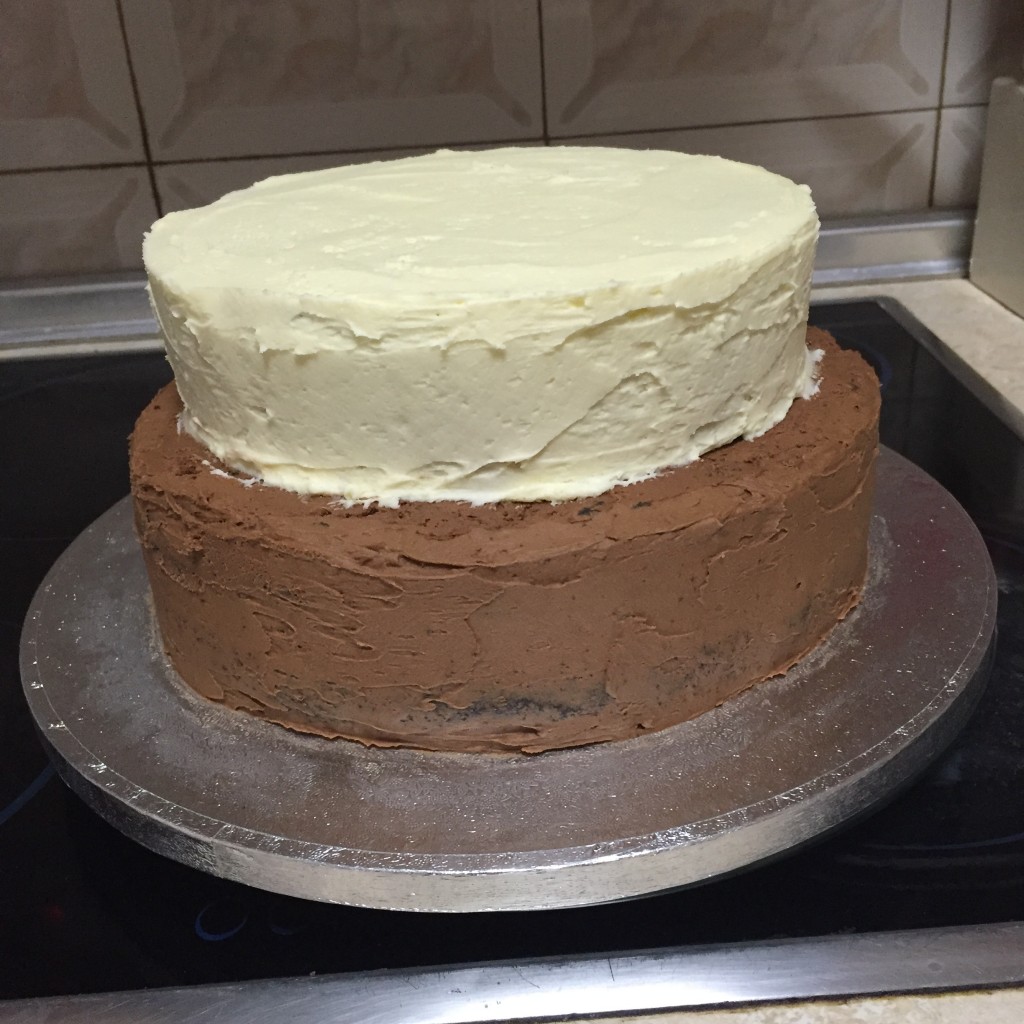
IMG_6534

Is a chocolate sponge with chocolate frosting too much chocolate? No such thing.

IMG_6538

White buttercream coming along nicely

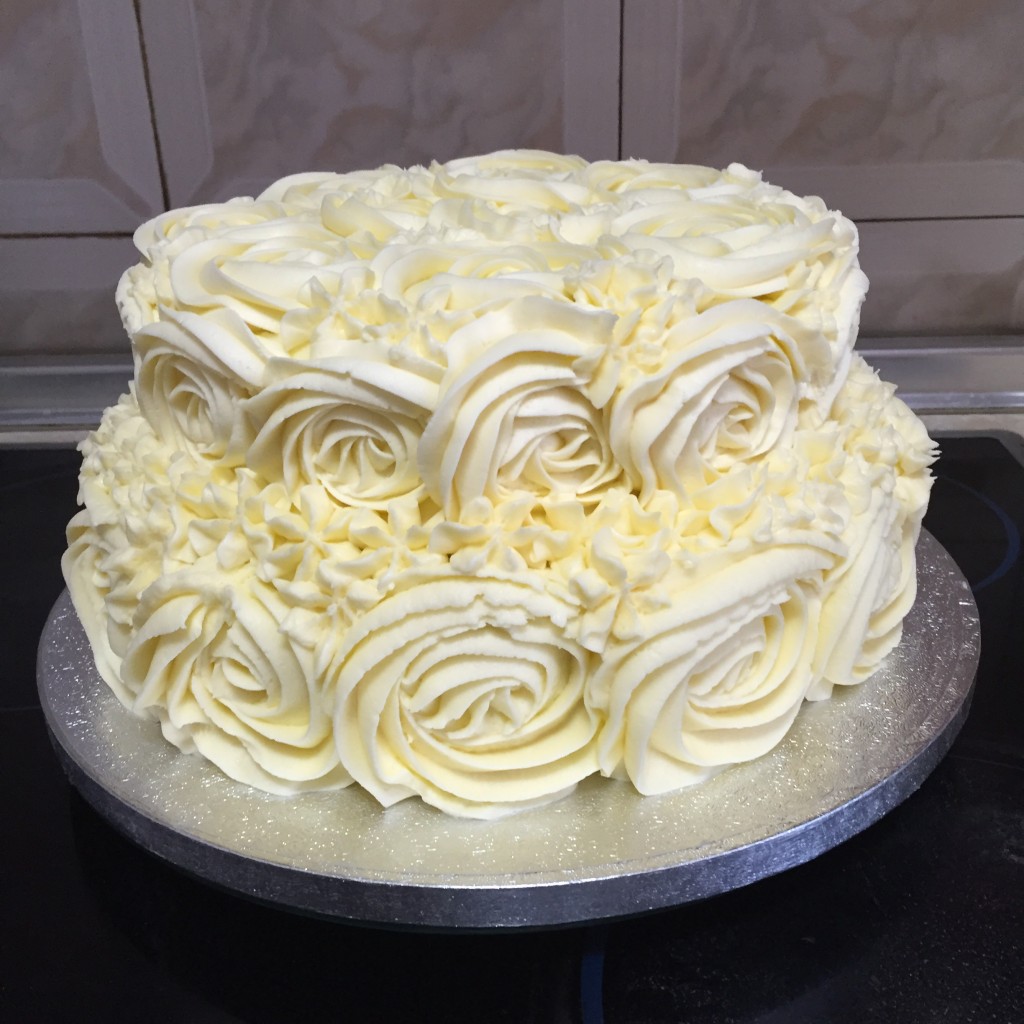
IMG_6541

The finished product

I personally always think it’s such an honour when you get to be part of an important event in someones life – be it a wedding, finding out the gender of their baby etc. There’s no room for error but it’s also very gratifying when it all works out in the end and it makes someone’s day that little bit better! Here’s to a happy life together to the lovely couple! Now hand me that champagne flute, please?

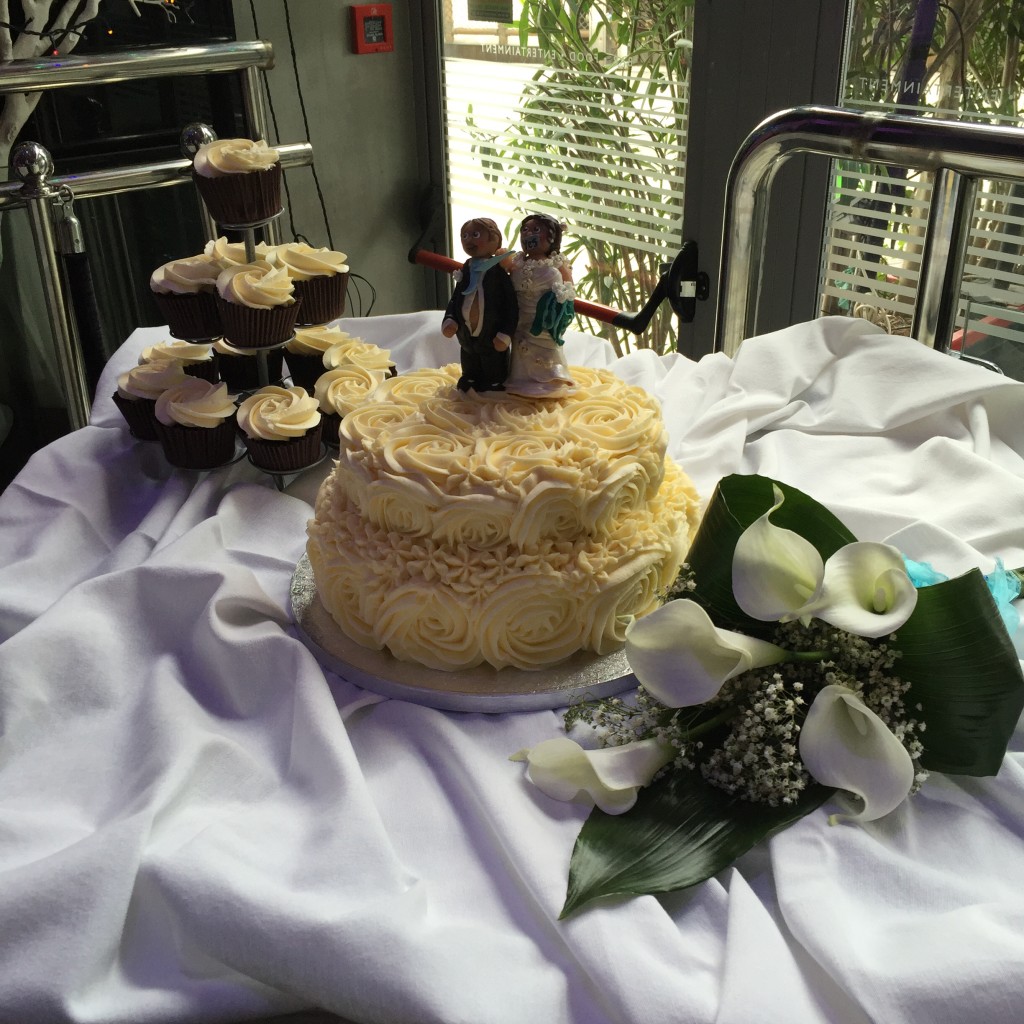
IMG_6547

The mother of the bride had made the topper to represent the couple’s personalities – they were adorable!

Sharing is caringShare on FacebookTweet about this on TwitterPin on PinterestShare on Google+Share on Tumblr

BAKING FOR A GOOD CAUSE! [+RECIPE]

Sharing is caringShare on FacebookTweet about this on TwitterPin on PinterestShare on Google+Share on Tumblr

Last weekend was full of baking and experimenting! And it was great (until the moment when my lower back decided I have abused it enough and left me rather crippled for most of Sunday but that was OK as I did really need a break)!!!

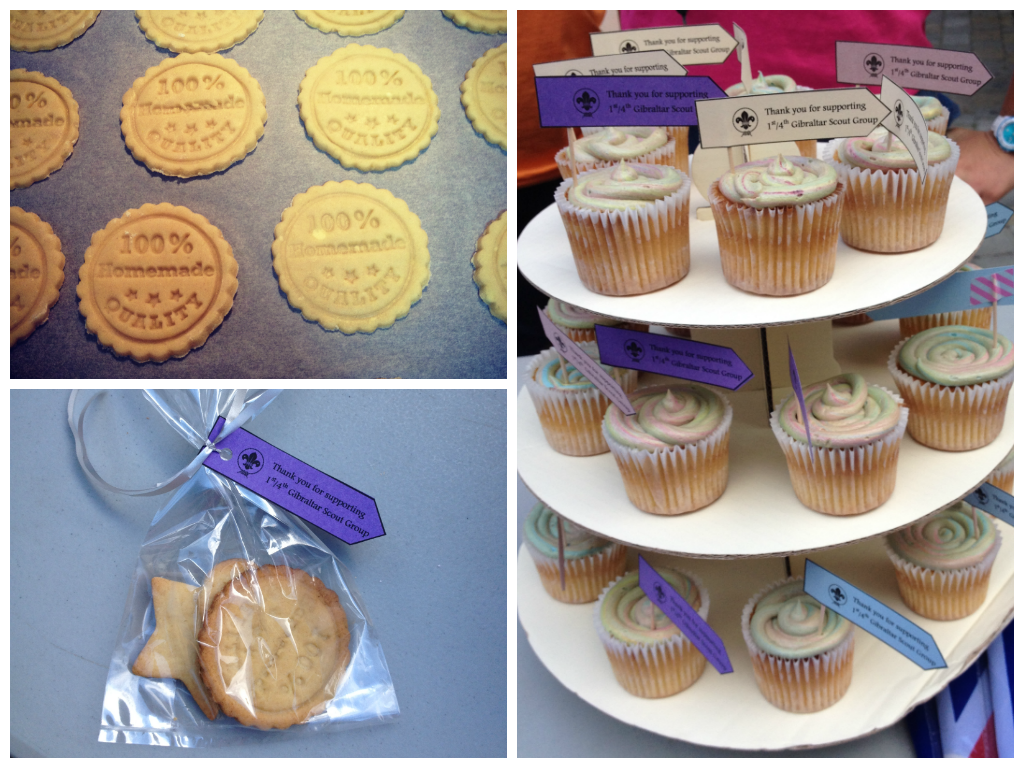
Our Scout group was holding a fundraising cake stall on Saturday morning so I prepared around 3 dozen of individual cookie bags and another 3 dozen of vanilla cupcakes with rainbow frosting. Ok, rainbow frosting was the plan, at least. What I didn’t take into account is that a) temperatures have been rather high around here for early summer (we’re talking 28 degrees Celsius) and b) no air-con in the kitchen. So the buttercream melted from the time I mixed it till the moment I spooned it into the piping bags. So they looked more psychedelic than rainbow but… it happens! I am still pretty proud as we were able to collect plenty of money for the Scout group. And don’t they still look pretty?

bake sale cookies and cupcakes

That same evening we were holding another fundraising event in a local wine shop & tasting room and I had set my mind on making wine-spiked cupcakes seeing as it was going to be adult only. The guys from My Wines had been kind enough to provide me with a bottle of mocha coffee flavoured wine – yum!

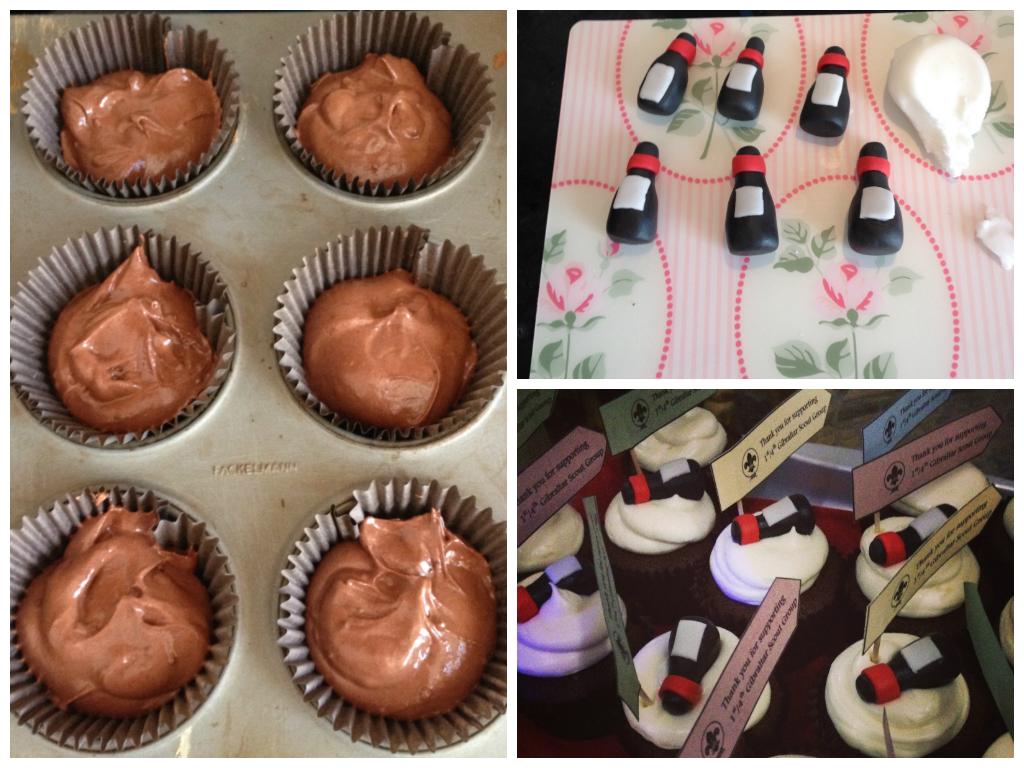
The cupcakes came out beautifully moist and rich and I topped them up with my favorite Hummingbird Bakery cream cheese frosting and little wine bottles made of fondant. What a treat after drinking plenty of vino! Recipe below.

red wine cupcakes

Red Wine Cupcakes with Cream Cheese Frosting (makes approx. 24)

Recipe taken from: Butter me up, Brooklyn (aside from frosting)

For the cupcakes:

  • 260g plain flour
  • 100g unsweetened cocoa powder
  • 1 tsp baking powder
  • 1/2 tsp cinnamon
  • 1/2 tsp salt
  • 1/4 tsp baking powder
  • 170g softened butter
  • 300g brown sugar
  • 100g caster sugar
  • 3 eggs at room temperature
  • 355ml red wine (if you use a chocolate wine, reduce the sugar, otherwise you risk them being too sweet)
  • 2 tsp vanilla
  • red food coloring (optional)


For the frosting (by the Hummingbird Bakery):

  • 600g icing sugar, sifted (I normally put less as I don’t like the icing too sweet)
  • 100g unsalted butter, at room temperature
  • 250g cream cheese, cold


To make the cupcakes:
In a medium bowl whisk together flour, cocoa, baking powder, cinnamon, salt and baking soda. In a large bowl (I use my standing mixer’s one) beat butter and both sugars together until smooth (if using a standing mixer, use the paddle attachment). Add eggs and beat to combine, then add red wine and vanilla and beat until incorporated. At this stage, it will look weird but don’t worry, the dry ingredients will make it smooth again. Add these in several additions, being careful not to over mix. Divide the batter evenly among the prepared cupcake liners until they are 2/3 full.

Bake for 20 to 22 minutes, or until a tester inserted into the center of cupcakes comes out clean. Let the cupcakes cool for five minutes or so in the tin, then turn them out onto a wire rack to cool completely.


To make the frosting:
Beat the icing sugar and butter together in a freestanding electric mixer with a paddle attachment (or use a handheld electric whisk) on medium-slow speed until the mixture comes together and is well mixed (it will look like crumbs).

Add the cream cheese in one go and beat until it is completely incorporated. Turn the mixer up to medium-high speed. Continue beating until the frosting is light and fluffy, at least 5 mins. Careful not to overbeat as it can turn runny quite quickly.

Sharing is caringShare on FacebookTweet about this on TwitterPin on PinterestShare on Google+Share on Tumblr

FETA & OLIVE SCONES [+RECIPE]

Sharing is caringShare on FacebookTweet about this on TwitterPin on PinterestShare on Google+Share on Tumblr

I’ve just popped the second and final batch of strawberry and white chocolate cupcakes in the oven and am contemplating a midnight-ish run to the supermarket (yes, it will be nearly 10pm by the time cupcakes are done, and yes, I am crazy but a supermarket kind of nearby now works till 12am so who am I to not take advantage of these new working hours, especially if I so thoughtfully forgot to buy the cheese for the frosting). And while the magic is happening in the oven and because I don’t want my dear readers to get diabetes from only reading my blog, I thought I’d share the result and recipe for my first (savory) attempt for scones. The recipe is courtesy of a Marks & Spencer’s baking cookbook and if you are lucky to have tried the Marks & Spencer’s food, you will know they know what they’re doing!

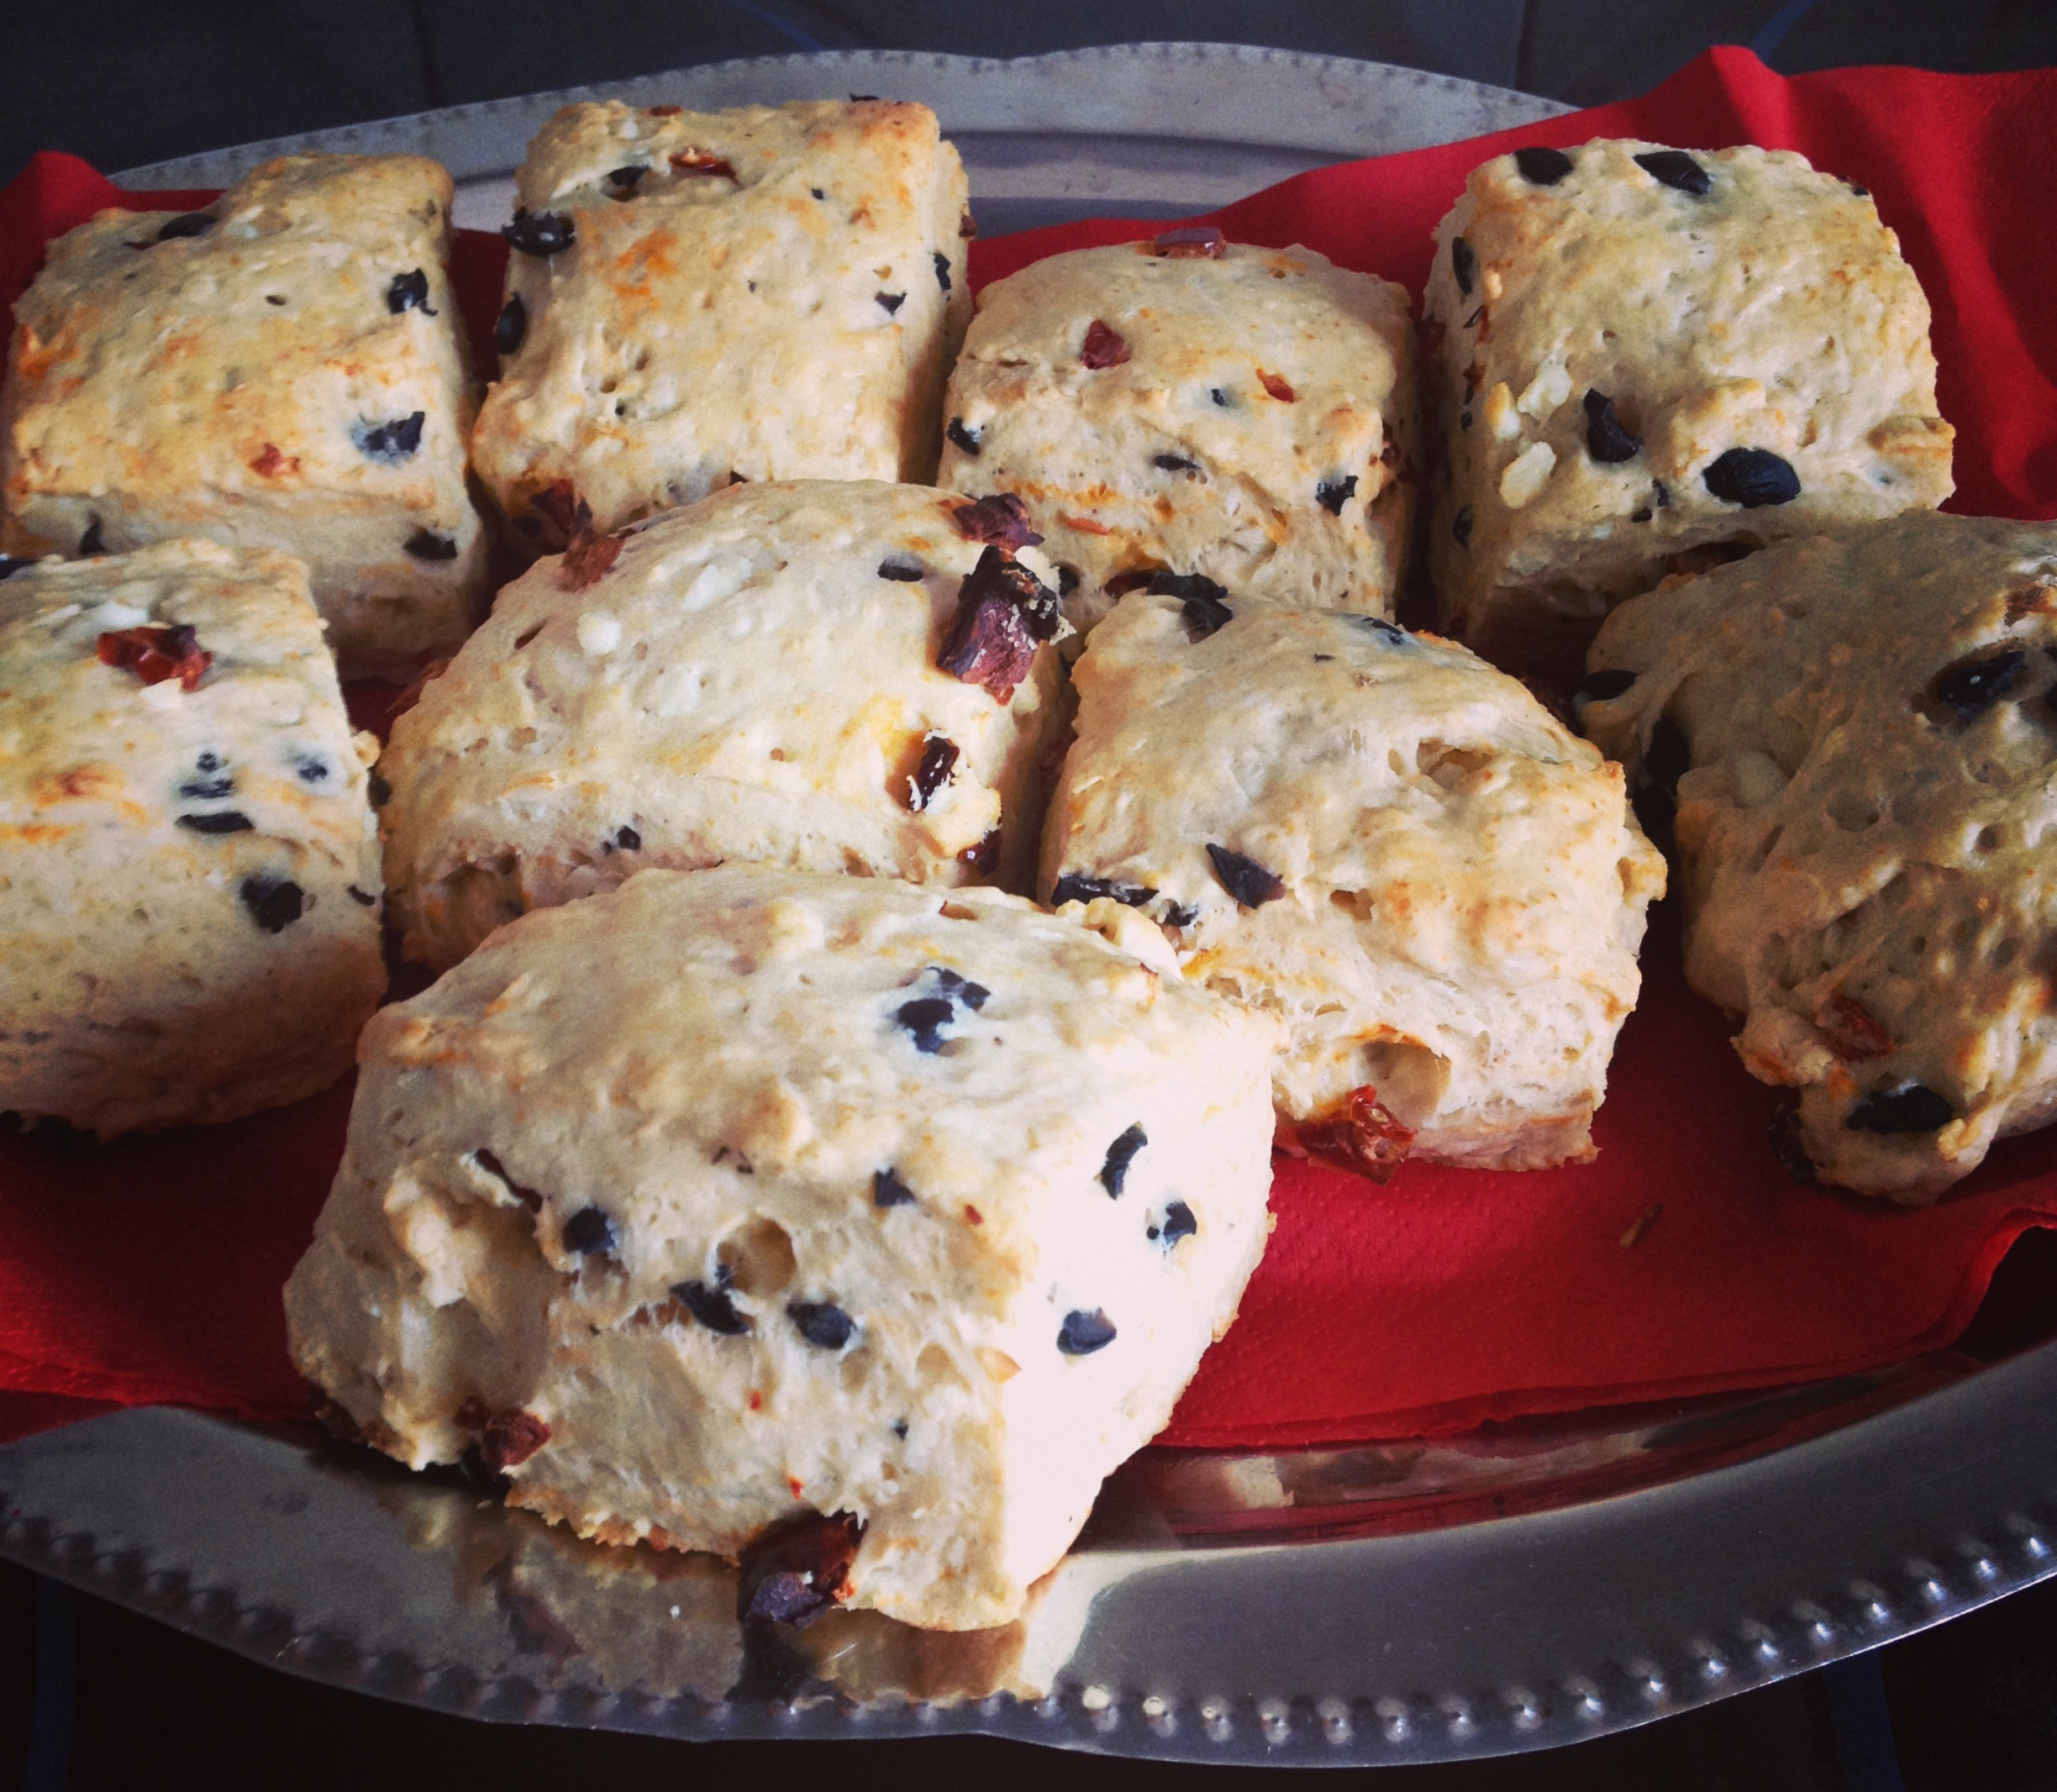
Feta & olive scones

Ingredients:

  • 400g self raising flour
  • 1/4 tsp salt
  • 85g butter at room temperature (+extra for greasing – optional)
  • 40g pitted black olives, chopped
  • 40g sun-dried tomatoes in oil, drained and chopped
  • 85g feta cheese, crumbled
  • 200ml milk + extra for glazing

Method:
First preheat your oven to 220 degrees Celsius. If you have a baking sheet, grease it with a little butter. If not, line a tray with baking parchment (no need to grease it) – I used the parchment and it works just fine.

Then sift the flour and salt in a large bowl. Now prepare to get messy: You need to add the soft butter to the flour and mix with your hands until it all looks like crumbs. The add the olives, feta cheese and tomatoes and mix it all.

Start adding the milk, a little at a time, while kneading the dough. Your hands would be pretty sticky at this point, so pre-measure it (or call someone, if available, to help) in order to avoid having to wash your hands a million times. You need to have a soft (and not too sticky) dough at the end so knead until then.

Roll out until you have a 3 cm thick sheet of dough – don’t worry, it won’t be all nice and smooth. Cut with round cutters or if you cannot be bothered like me, in squares, about 5-6 cm wide. Brush with milk, put on tray/baking sheet and bake for 12-15 minutes or until golden.

Serve warm with butter!
Feta & olive scones

Not bad for a first attempt at scones, eh? Also confirmed by the speed with which these (plus a few more) disappeared!

UPDATE: Don’t you just hate it when you go grocery shopping with a game plan, aka shopping list, with the (apparently false) security that you won’t forget anything because you have a list only to get home, start baking and realize you didn’t put everything you need on the list???

Also, clearly I am the last person to get the memo that said supermarket no longer works till midnight. Or was there no memo for going back to 10pm closing time despite them heavily advertising the new working hours? I guess I will never know. But fact is, I just walked nearly 40 minutes to it and back, crossed a rather windy runway twice and came back without Philadelphia cream cheese.

On a different note, the petrol stations in Gibraltar which open after 10pm have an extensive selection of butter (I counted 5 different types in only one of them), it seems, but do not stock any cream cheese.

Buttercream frosting it is then. *Sigh*
Sharing is caringShare on FacebookTweet about this on TwitterPin on PinterestShare on Google+Share on Tumblr

FINALLY A DECORATING COURSE

Sharing is caringShare on FacebookTweet about this on TwitterPin on PinterestShare on Google+Share on Tumblr

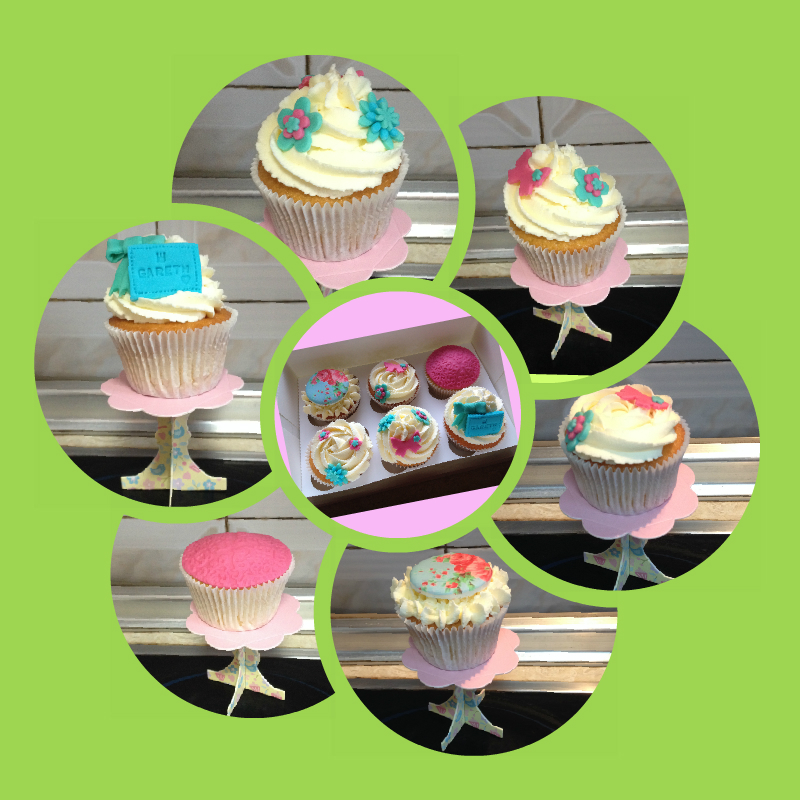
So this week I finally did a celebration cake and a cupcake decorating class. While I am not 100% happy with the way the celebration cake came out (fondant can be tricky), my cupcakes turned out absolutely adorable, if I may say so. Without further explanations, here they are:

cupcakes decoration

My only concern is that the newly learned techniques might put a stop to my cream cheese frosting obsession, at least for a while. Buttercream is unfortunately the best for piping this way so this weekend I have had to switch already to buttercream.

Stay tuned for pictures of the 24 courgette and chocolate cupcakes I need to decorate tonight. Yes. On a Friday night. No. I am not crazy. K?

Sharing is caringShare on FacebookTweet about this on TwitterPin on PinterestShare on Google+Share on Tumblr